Inspecting a shipment
Inspection Properties provide users responsible for handling the quality release with the option to enrich data with more specific information relating to quality inspection. Inspection Properties are available in the Inspection Modal for the user in which they can enter all the relevant information before releasing the product. The Inspection Properties include the following available settings:
Inspection Status
Not inspected
Being inspected
Inspected
Shipment quality
Good
Undecided
Bad
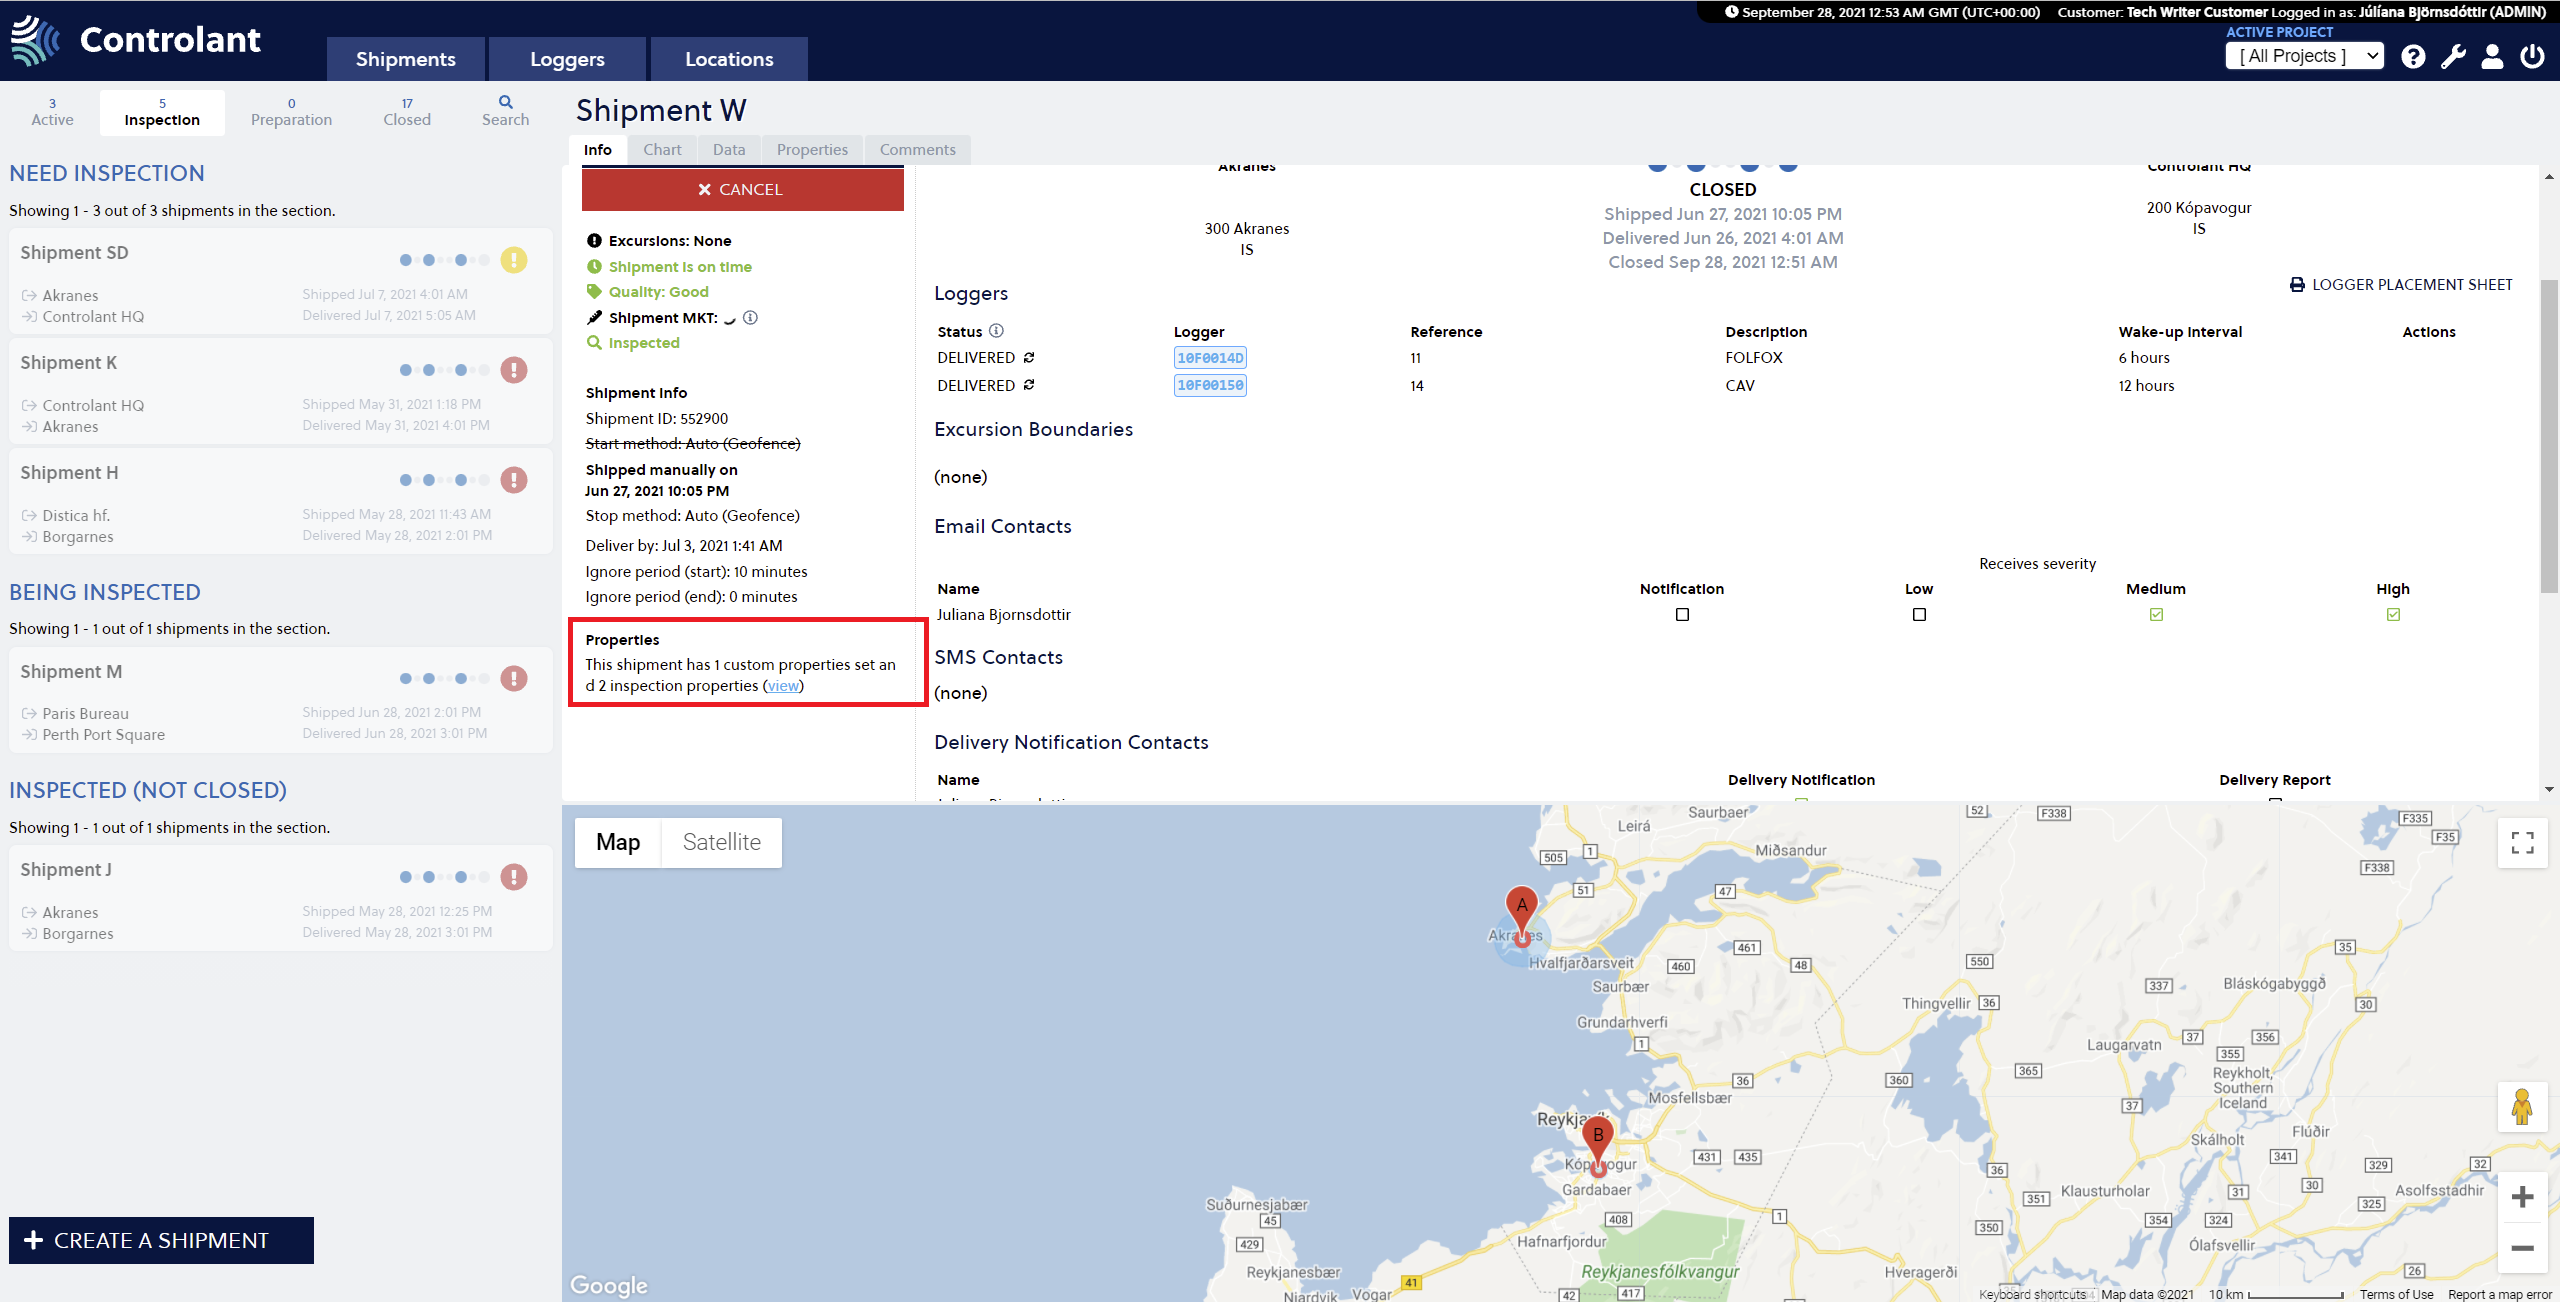
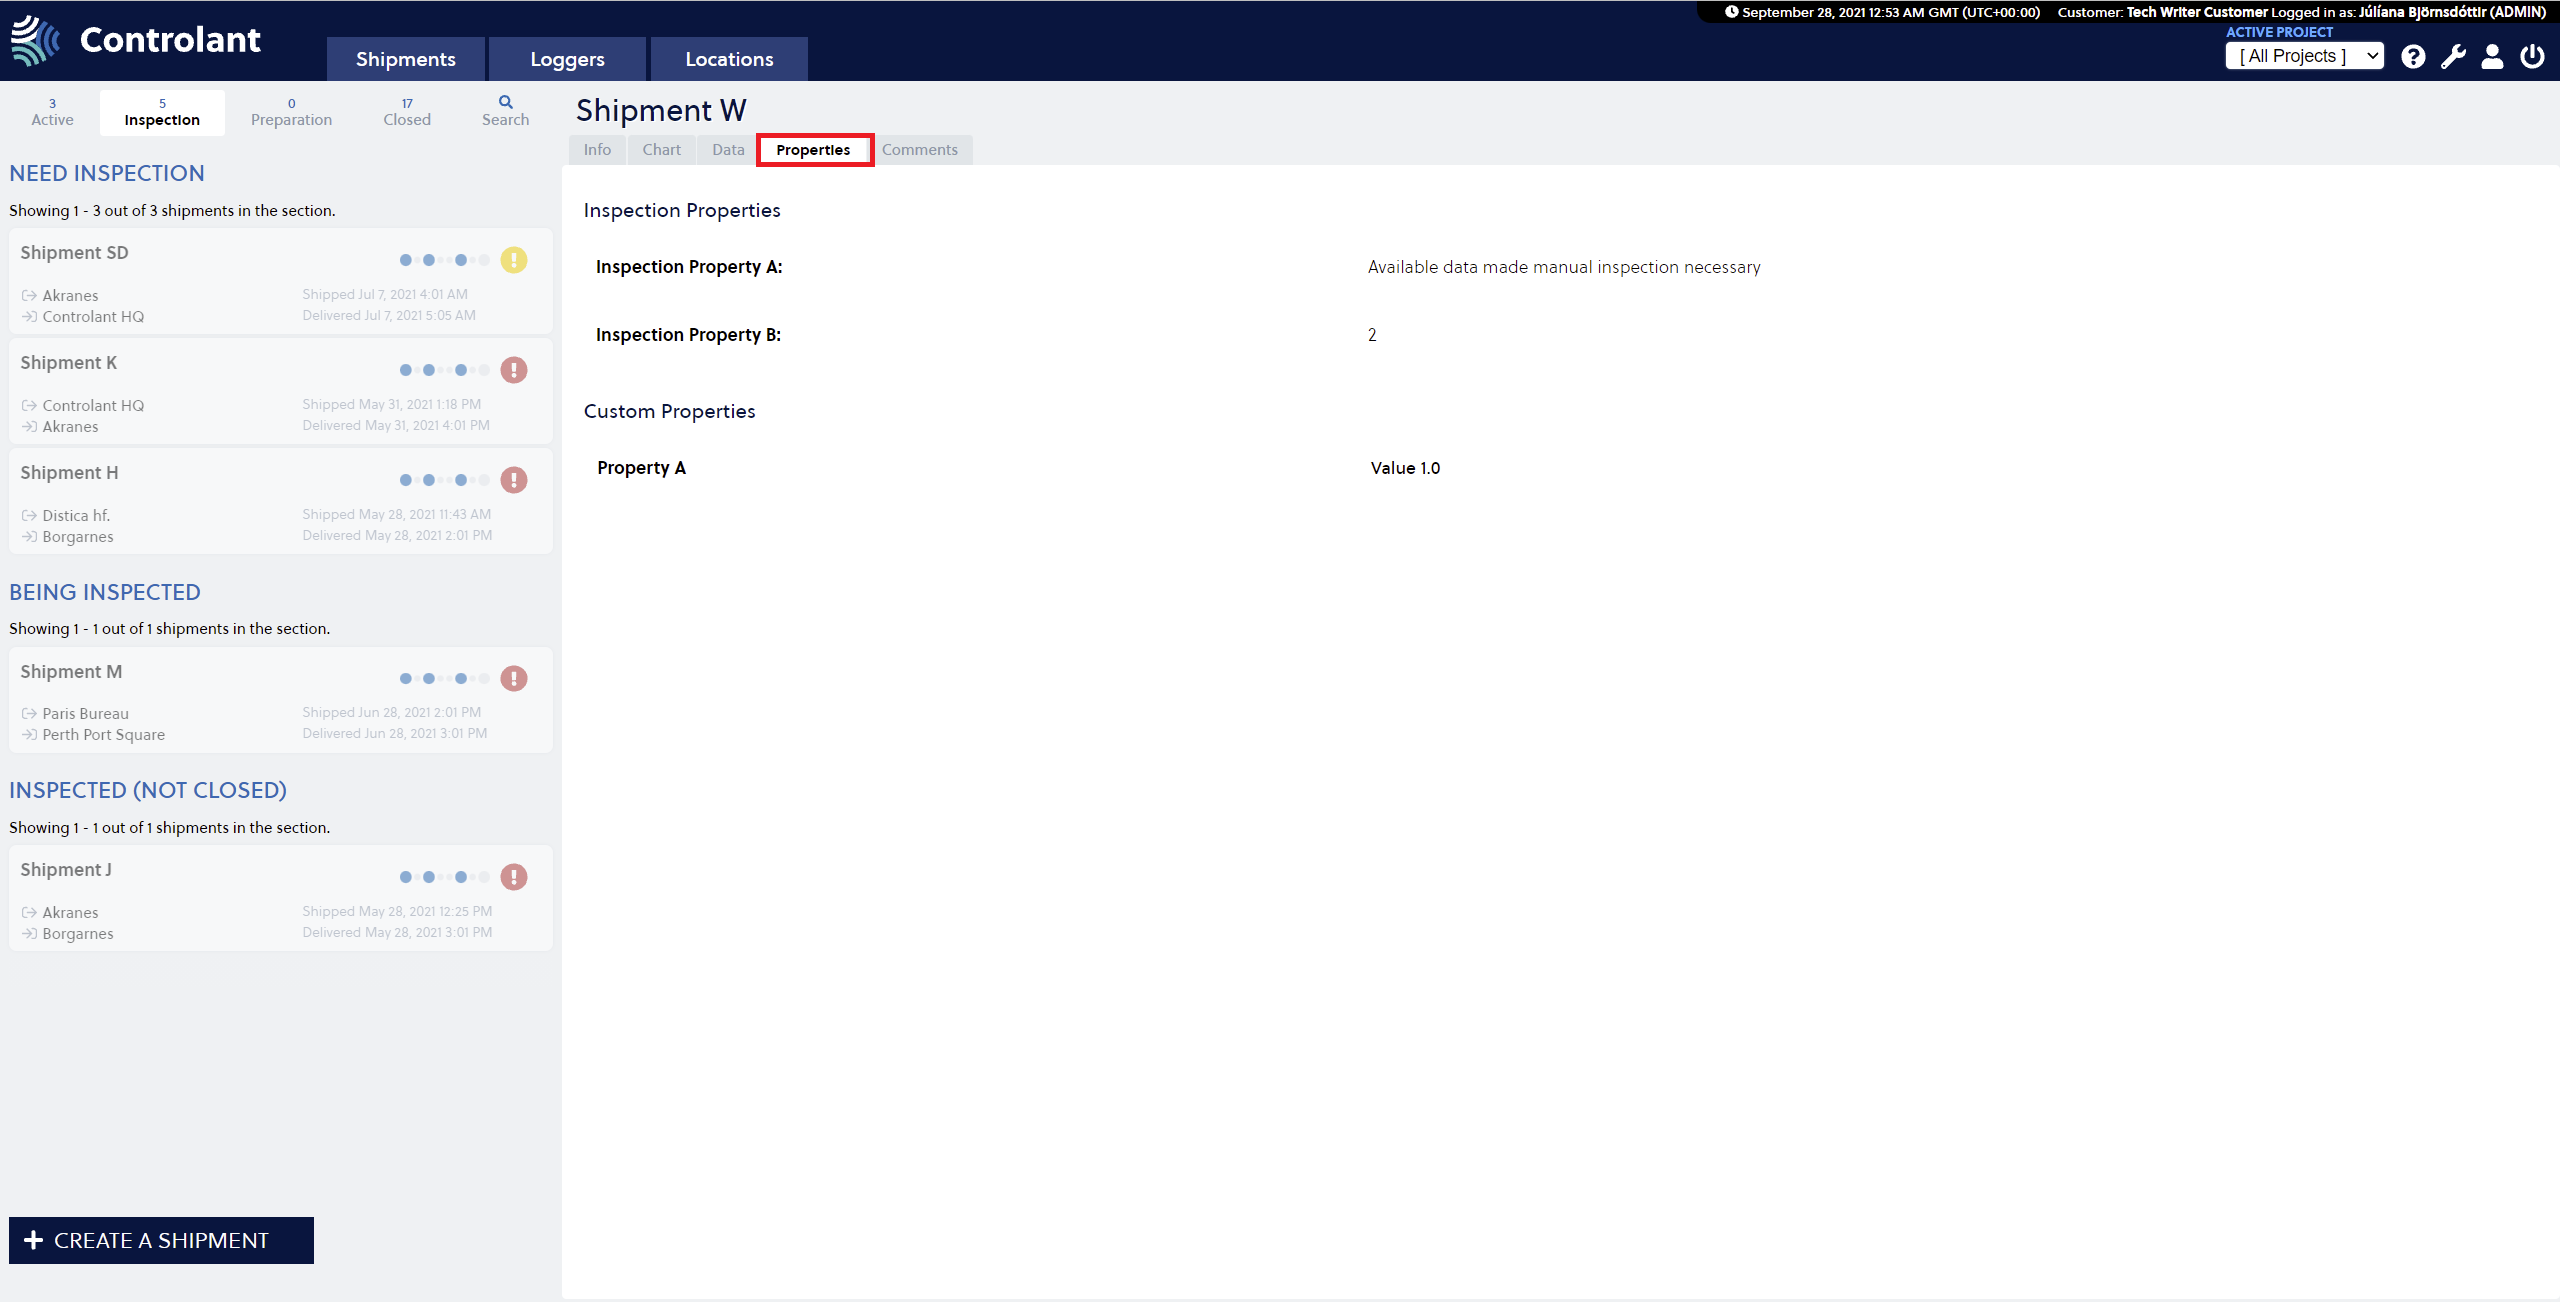
In the Properties window for the shipment, the user can see the applicable properties set for the shipment. A link to the Properties tab in the Shipment window is available for convenience.
 |
 |
Inspecting a shipment
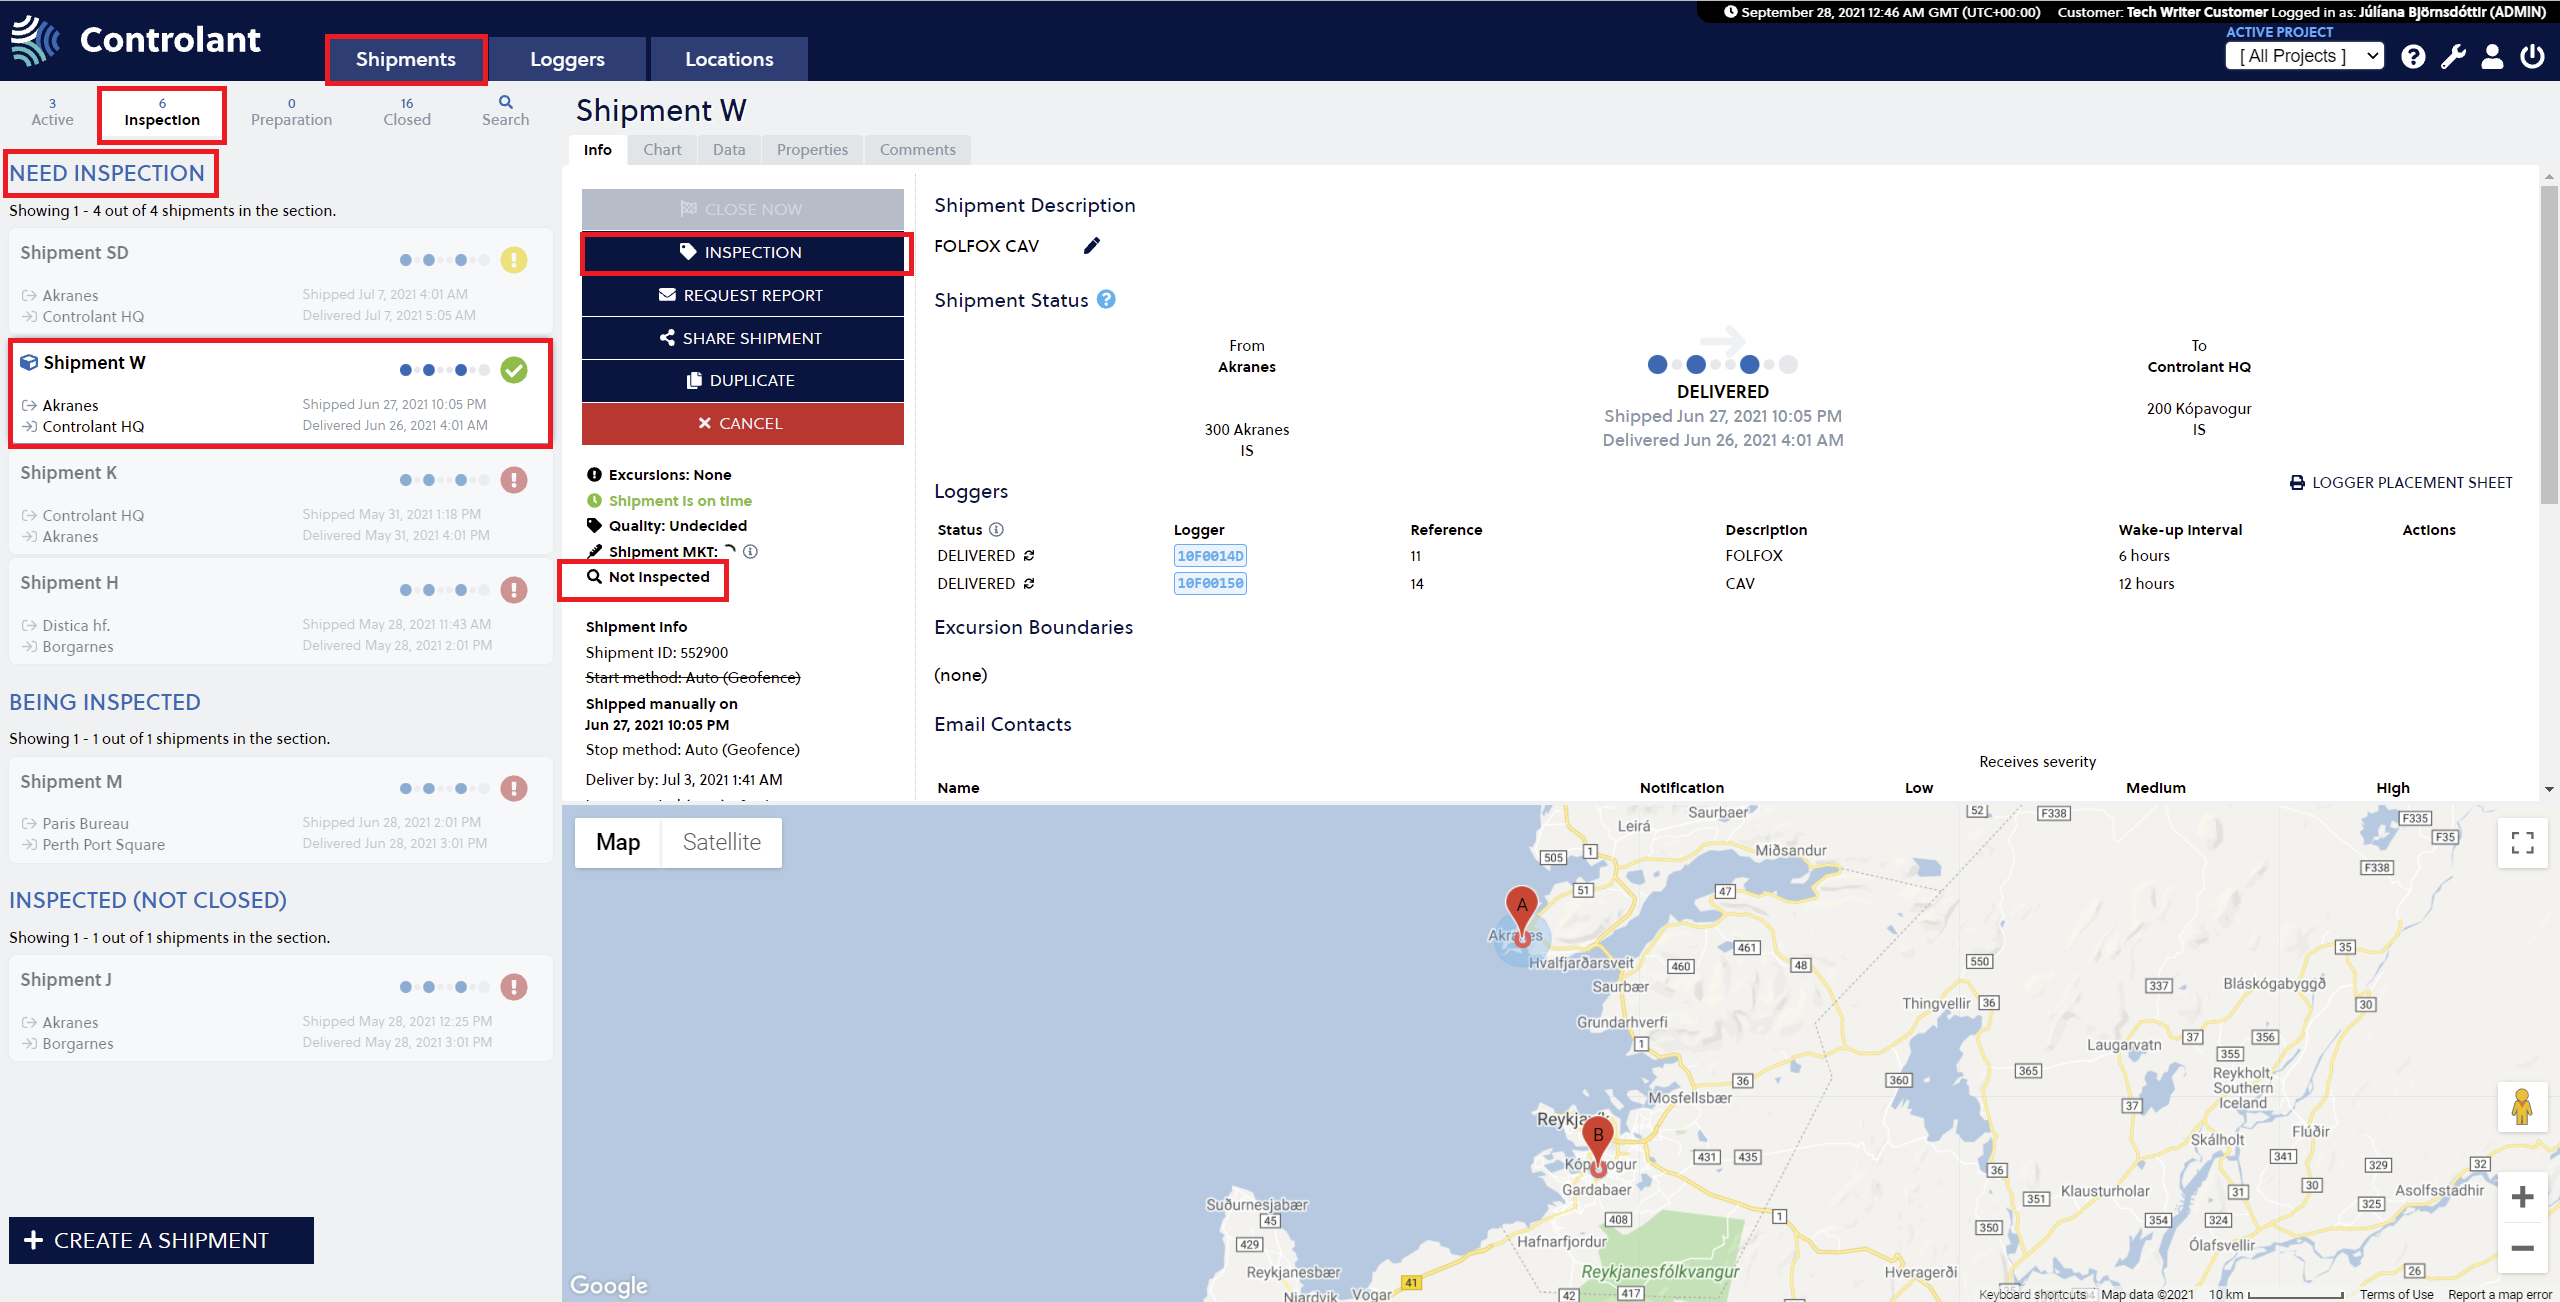
Step 1:
To inspect a shipment, the user responsible for the inspection selects the Inspection tab in Shipment. Shipments in the Needs Inspection column to the left of the Shipment Info window are all shipments that require an inspection in order to be released. To inspect a shipment, select a shipment and press the Inspection button on the left side of the Shipment window. In the image below, Shipment W has been selected for inspection. The remark highlighted next to the looking glass below the menu of available actions shows that the shipment has not been inspected. Press the Inspection button to inspect the selected shipment.
The Close Now button is unavailable (gray) in the Shipment window. A shipment listed in the Inspection tab cannot be closed unless inspection is marked completed.
 |
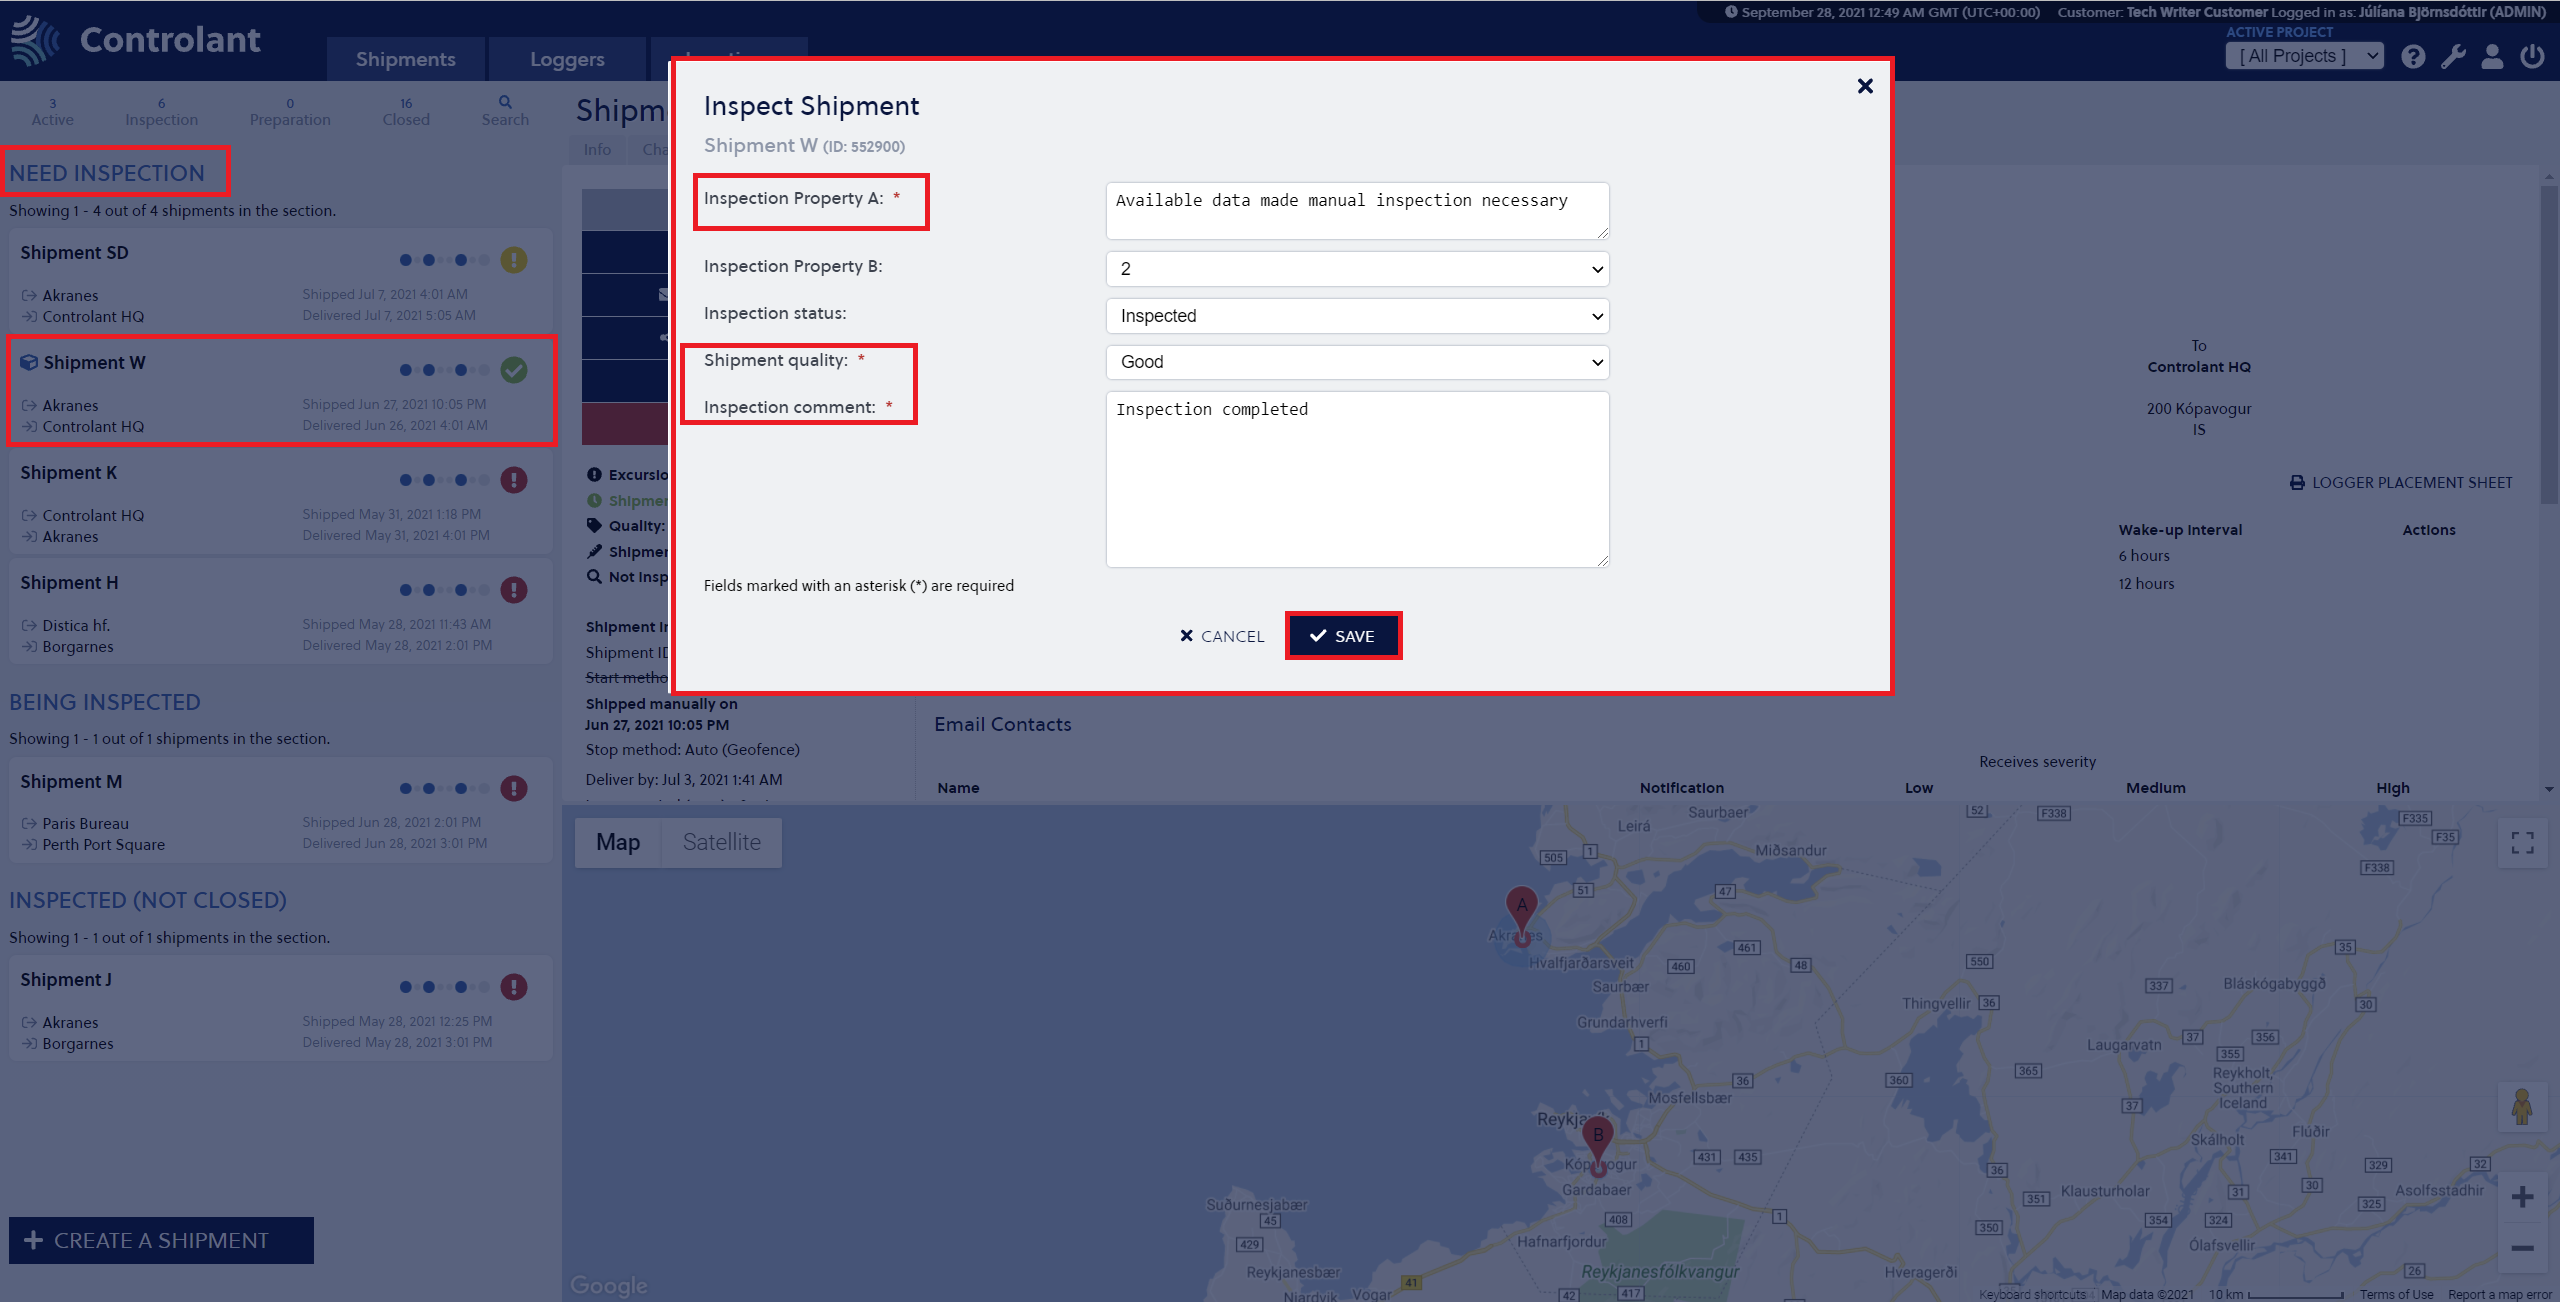
Step 2:
When the Inspection button is pressed, the Inspection modal window appears in which the user adds the required shipment inspection data. The required fields marked with an asterisk (as stated on the screen) vary depending on the settings set by the Admin user in Account admin . Once the details have been added, the user can press the Save button in the window to confirm.
 |
Step 3:
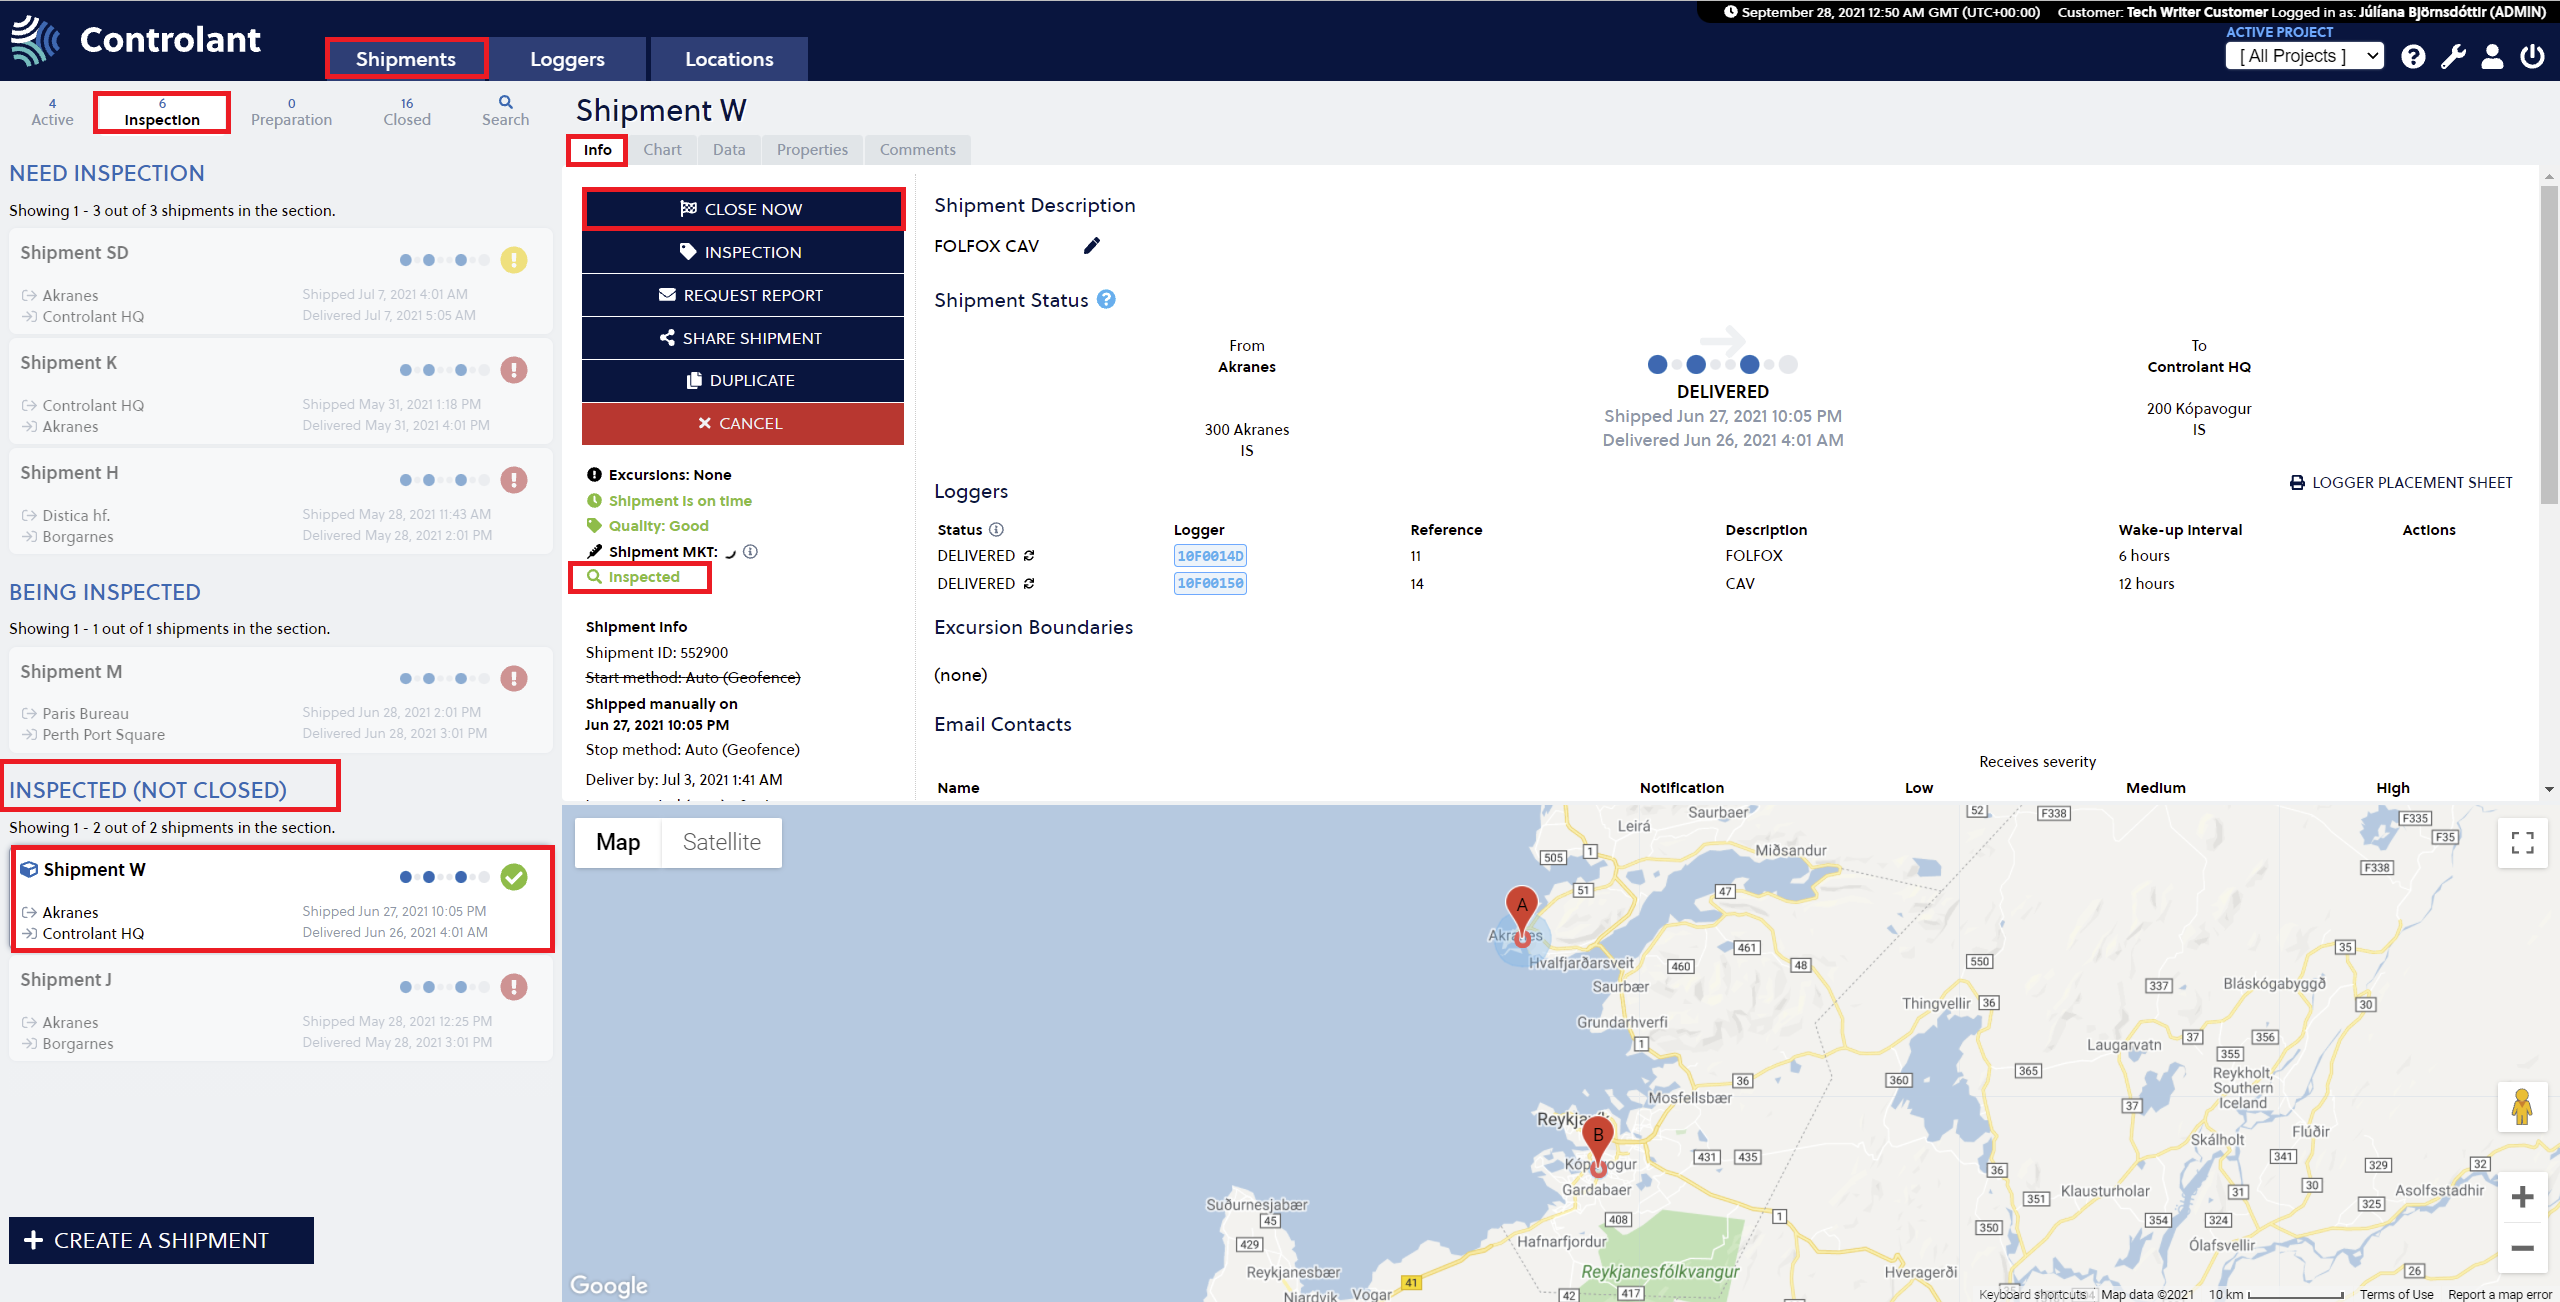
Once the shipment has been inspected, and in the example below marked as Inspected, it moves from the Need Inspection list to the Inspected (Not Closed) list on the left side of the Shipment Info window and the map. The comment next to the looking glass now says inspected. To close the shipment and remove it from the Inspection tab entirely, the user has to press the Close Now button in the Shipment Info window.
 |
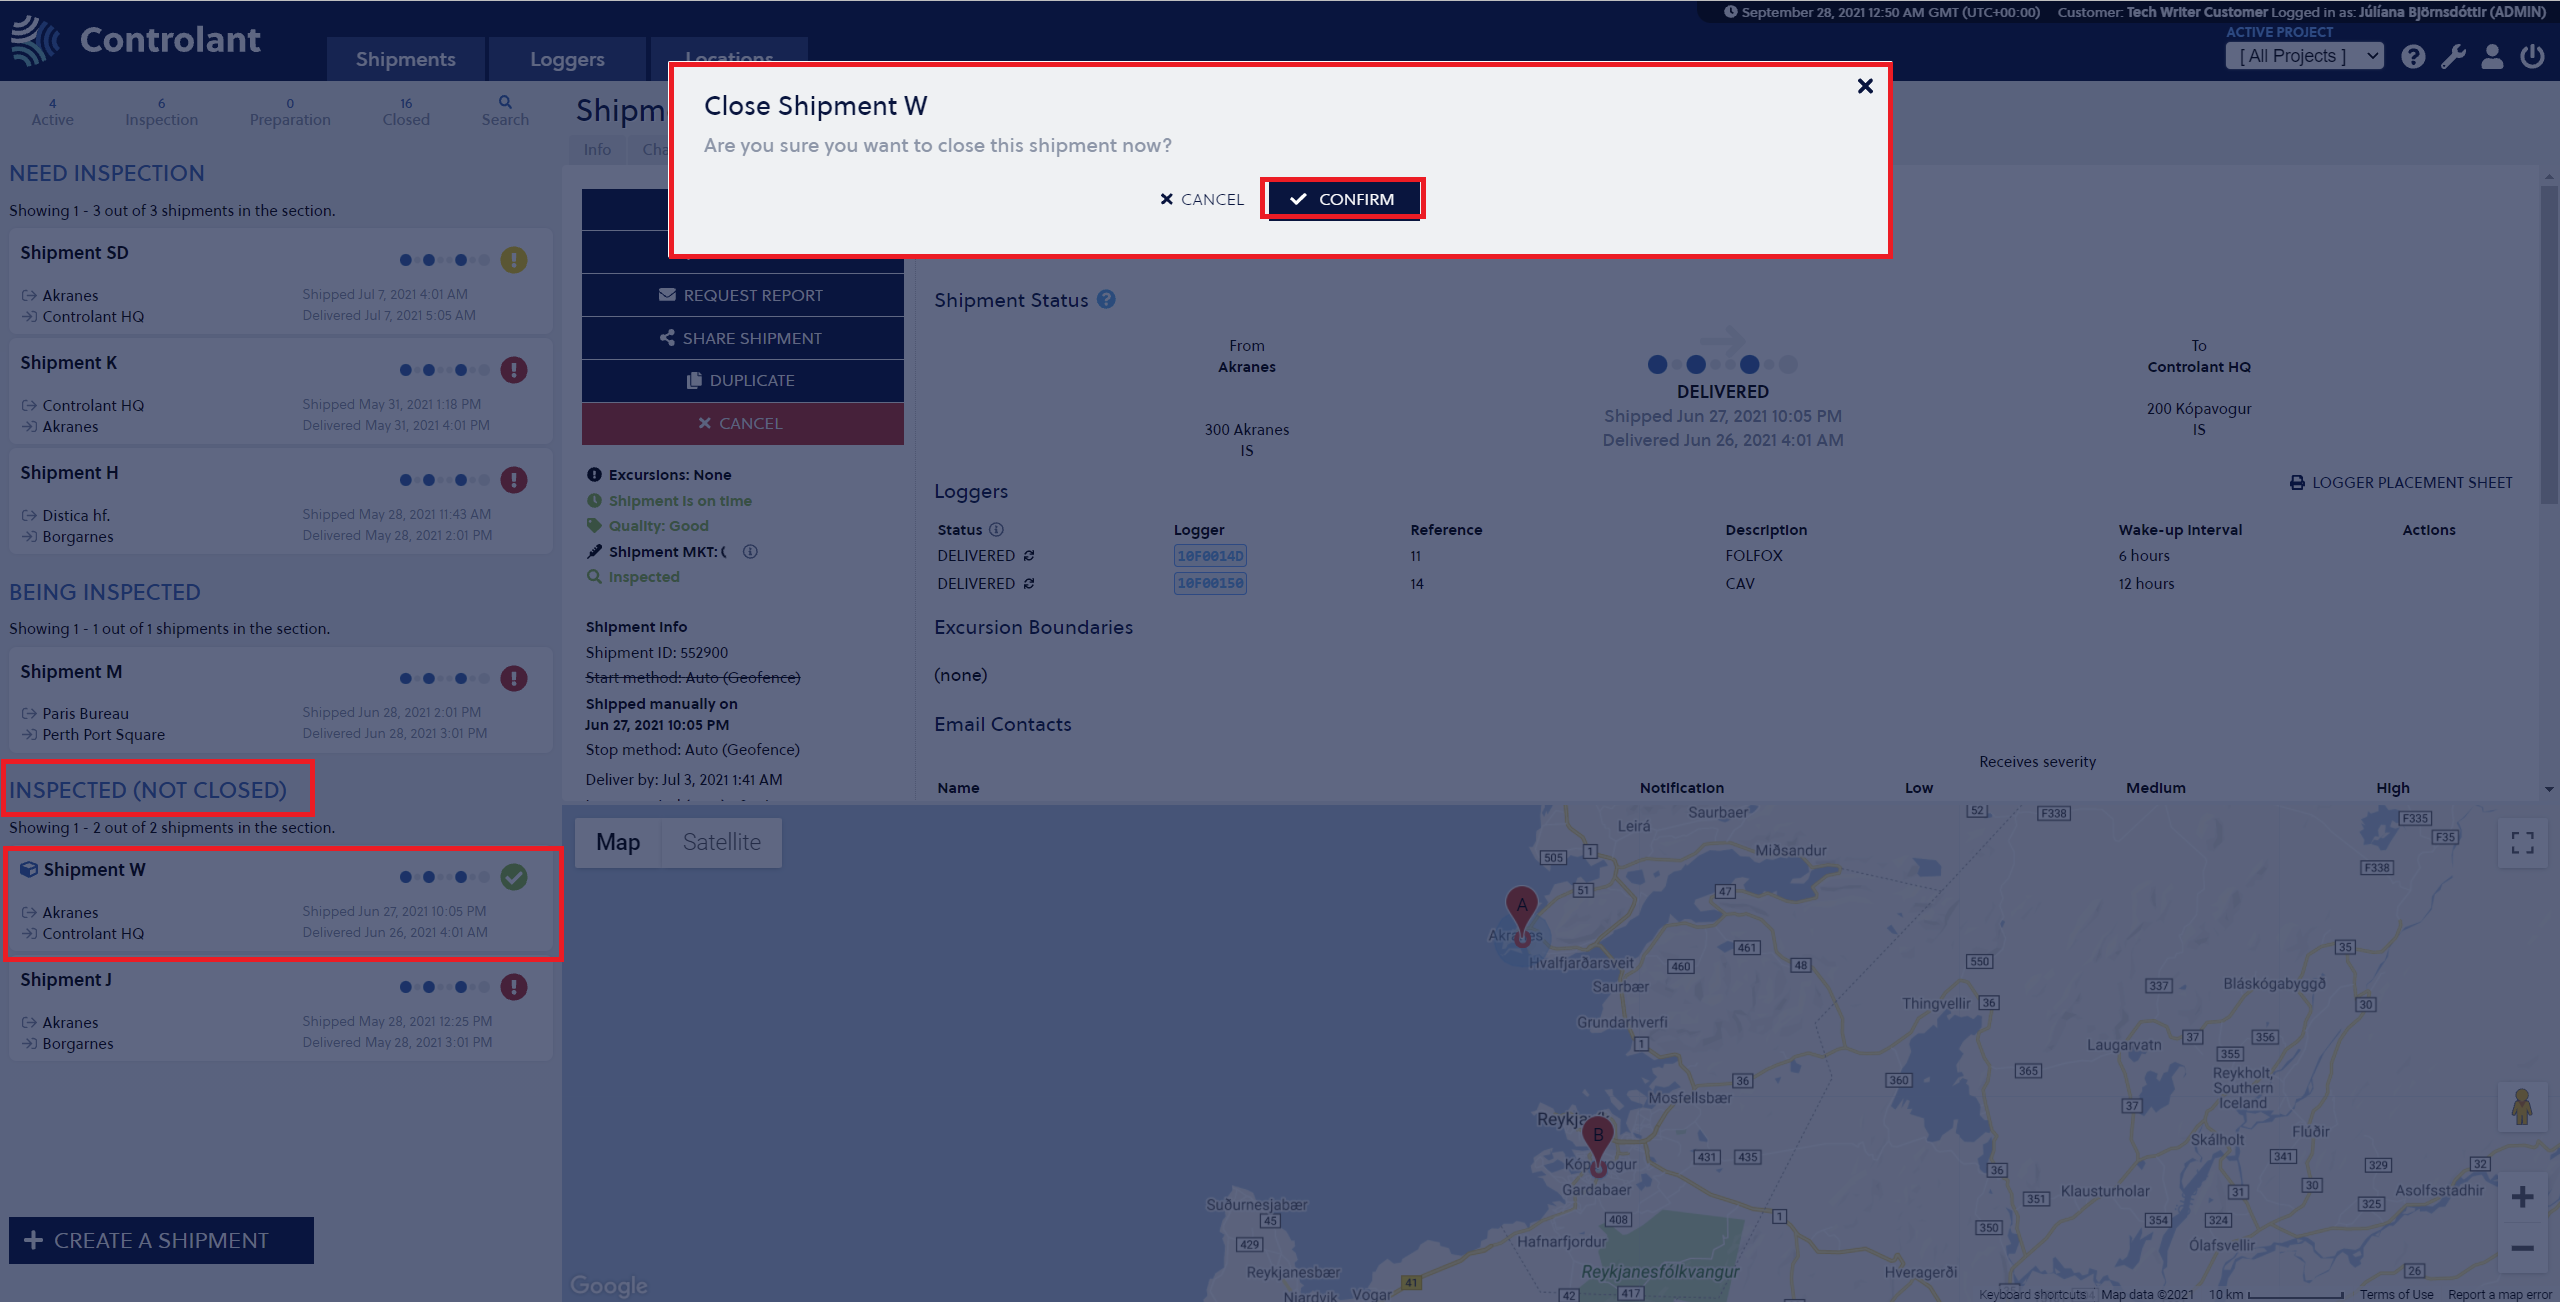
In order to close the shipment, the user must confirm the selection by pressing the Confirm button in the modal.
 |
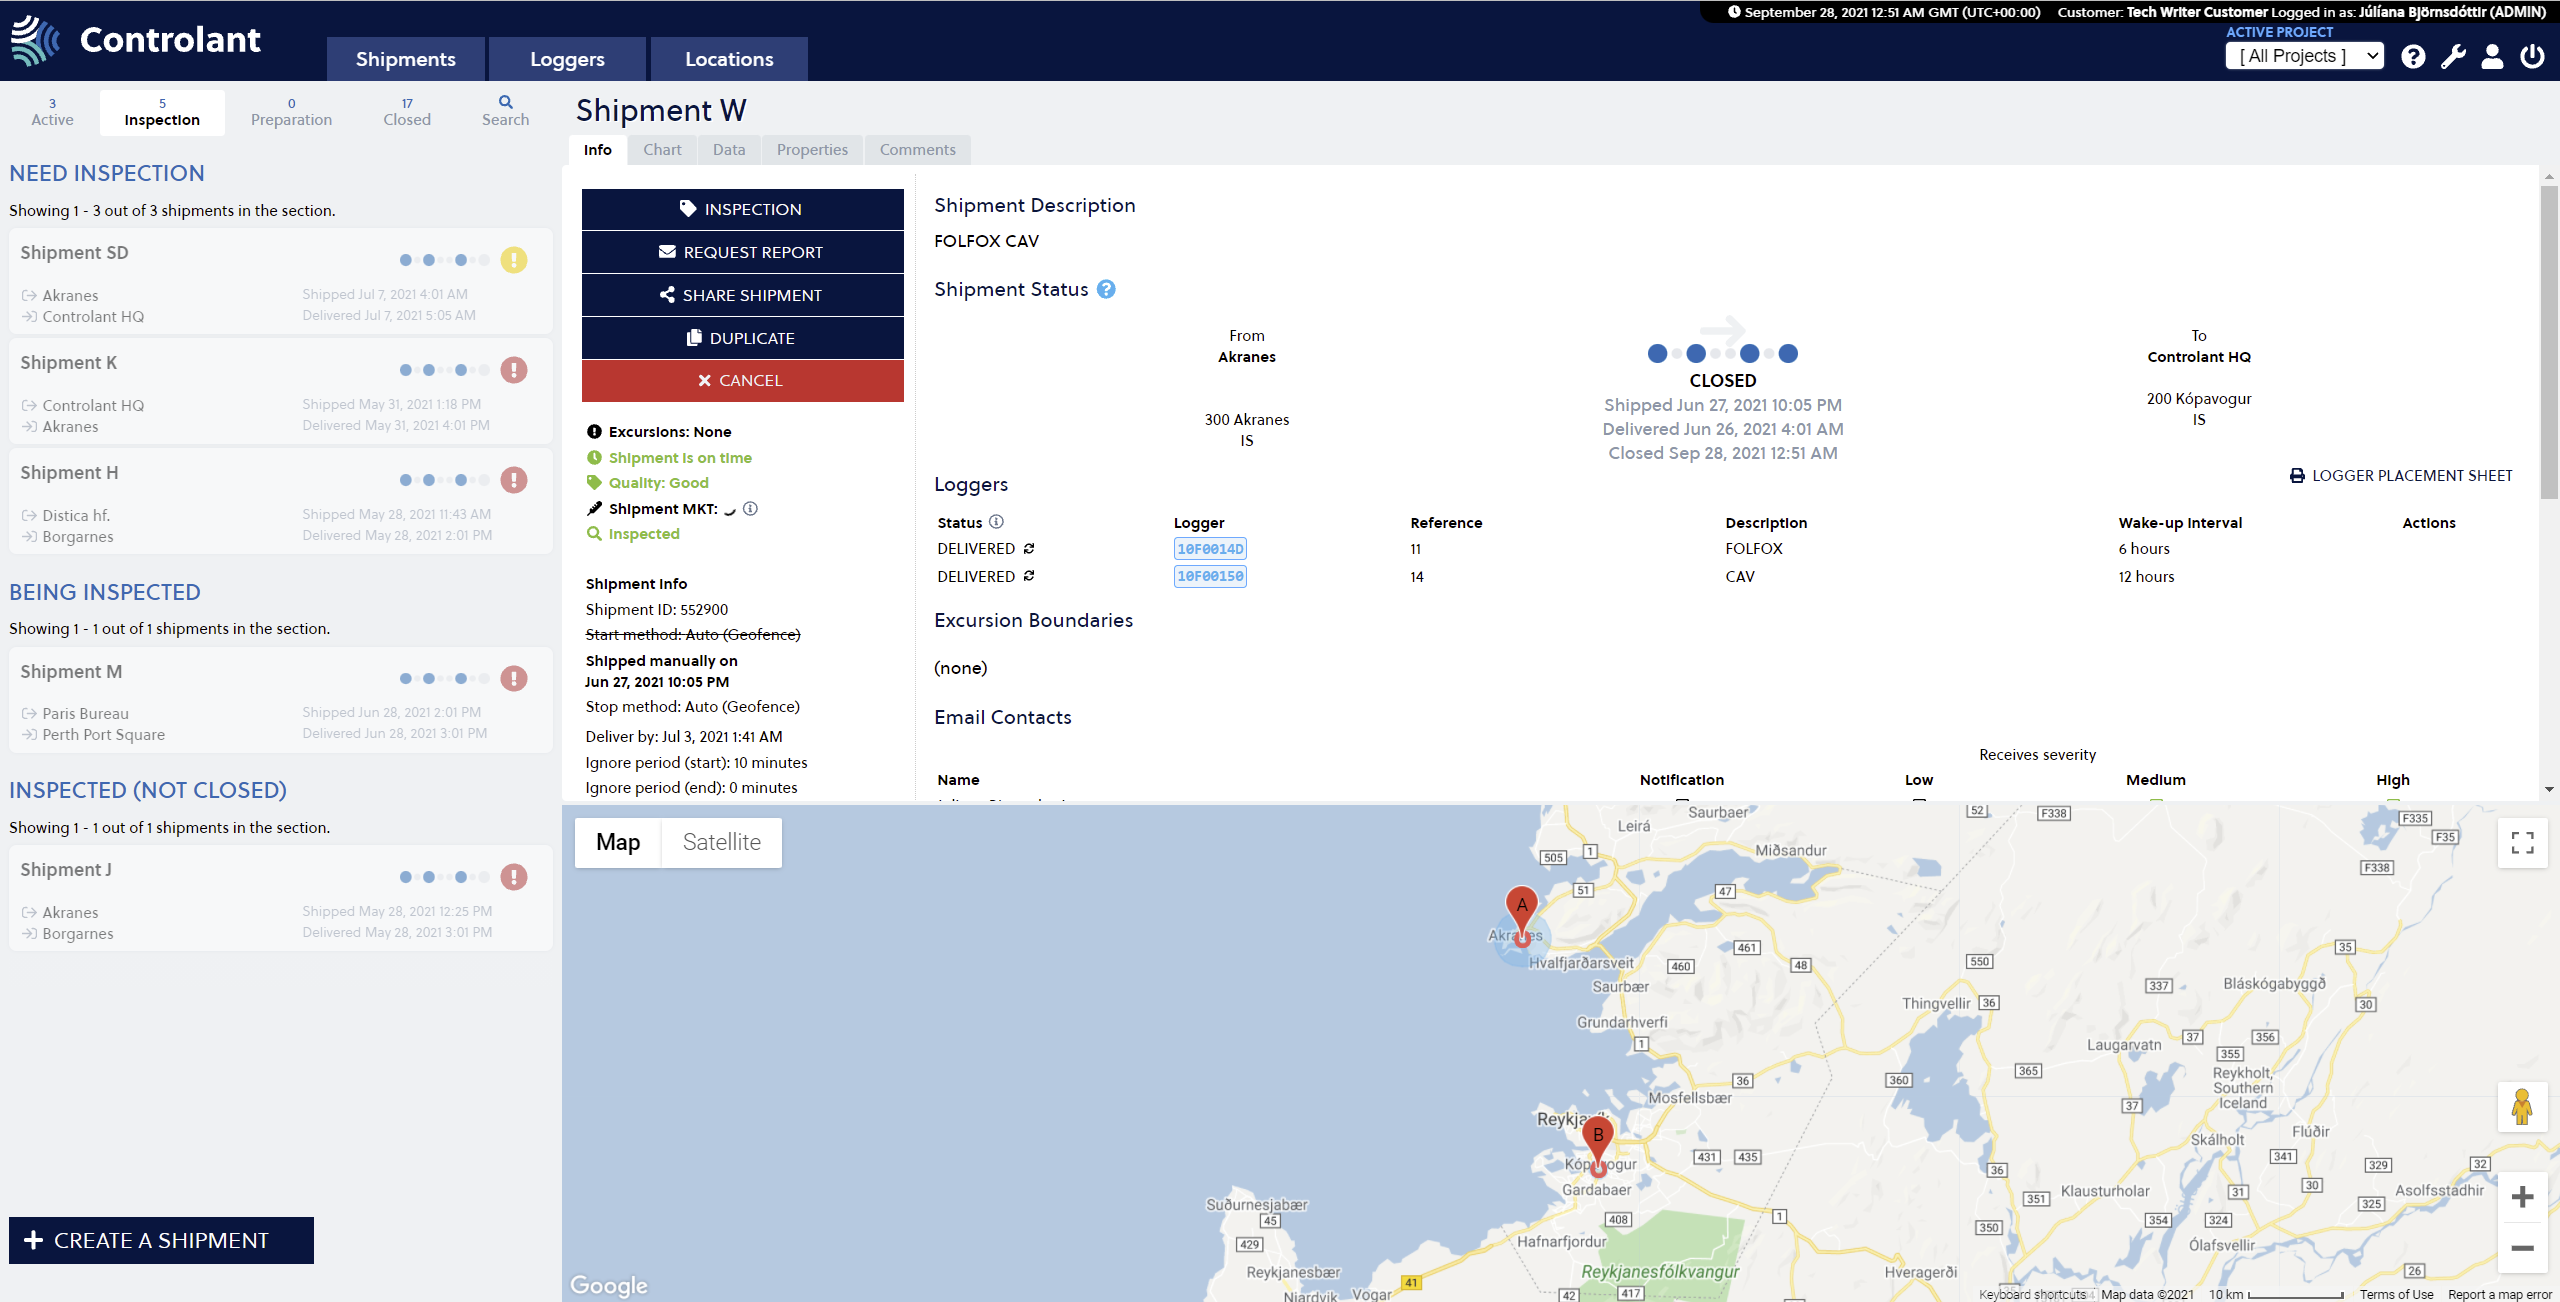
Once the shipment has been marked as inspected and closed, it is no longer visible in the Inspection tab.
 |