SCM App - User Manual
Draft Shipments App
The Draft Shipments app is for users that add loggers to shipments. This is the user documentation for the Draft Shipments app.
Login
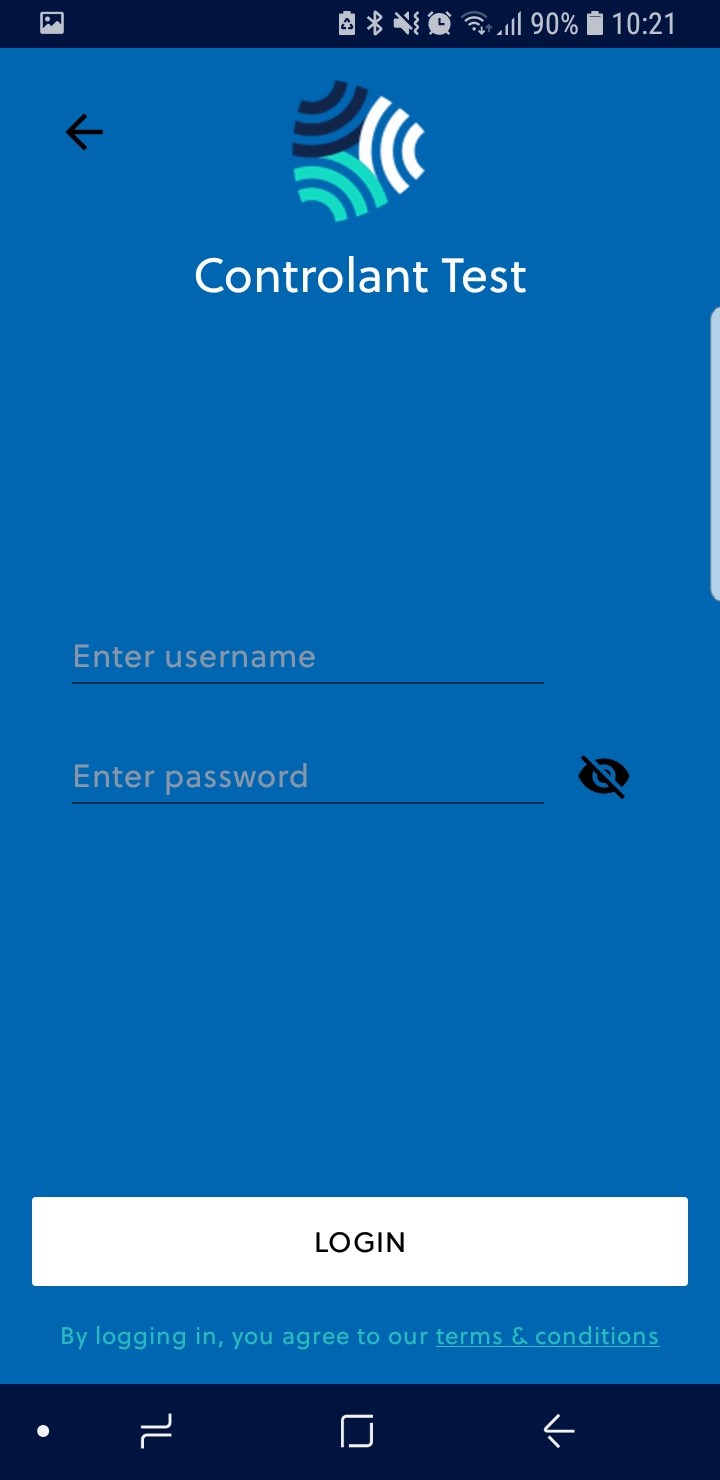
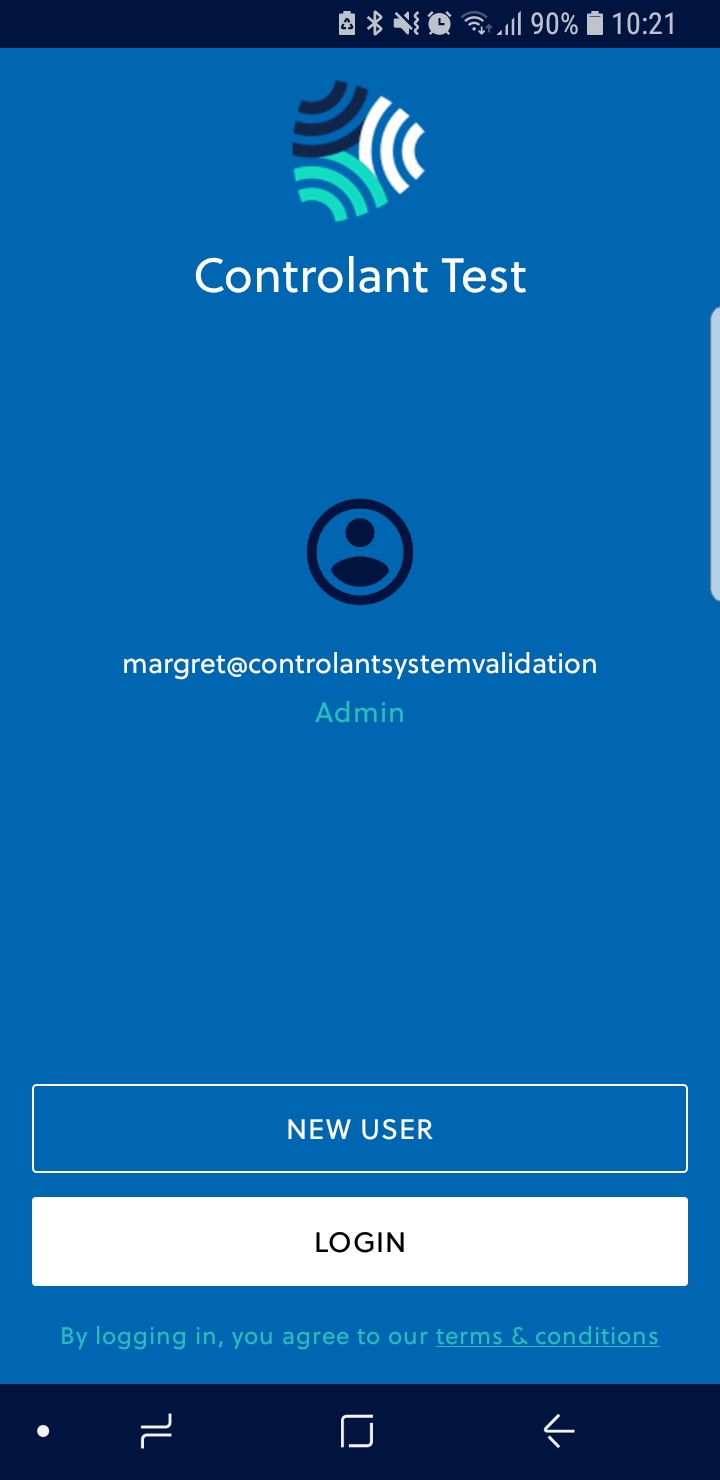
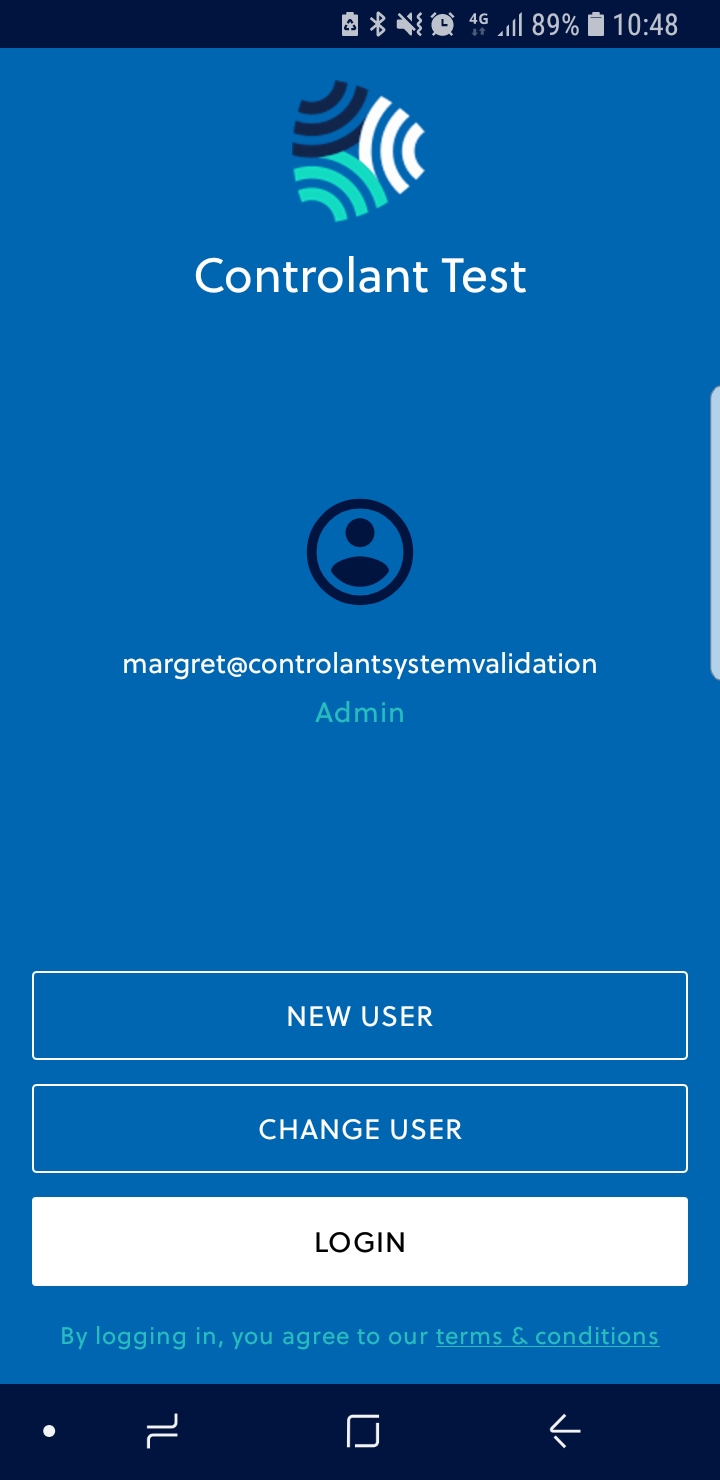
Below are screenshots of the Login screen (1 to 3 from left to right). When opening the app for the first time, the user will have to register by logging in with username and password for the Supply Chain Monitoring (SCM) system. After logging in for the first time, the user is saved in the app. For the next login, select the user and enter the password and then click the Login button (1). Multiple users can exist in the app for one device. To switch between users, click the CHANGE USER button (3). To add a new user, tap the NEW USER button (2 and 3). If a user using the app does not manually log out, the user stays logged in the app for 14 days before being automatically logged out. It's recommended that if the device is used by multiple users that each user logs out after each use.
 |  |  |
Draft shipment list
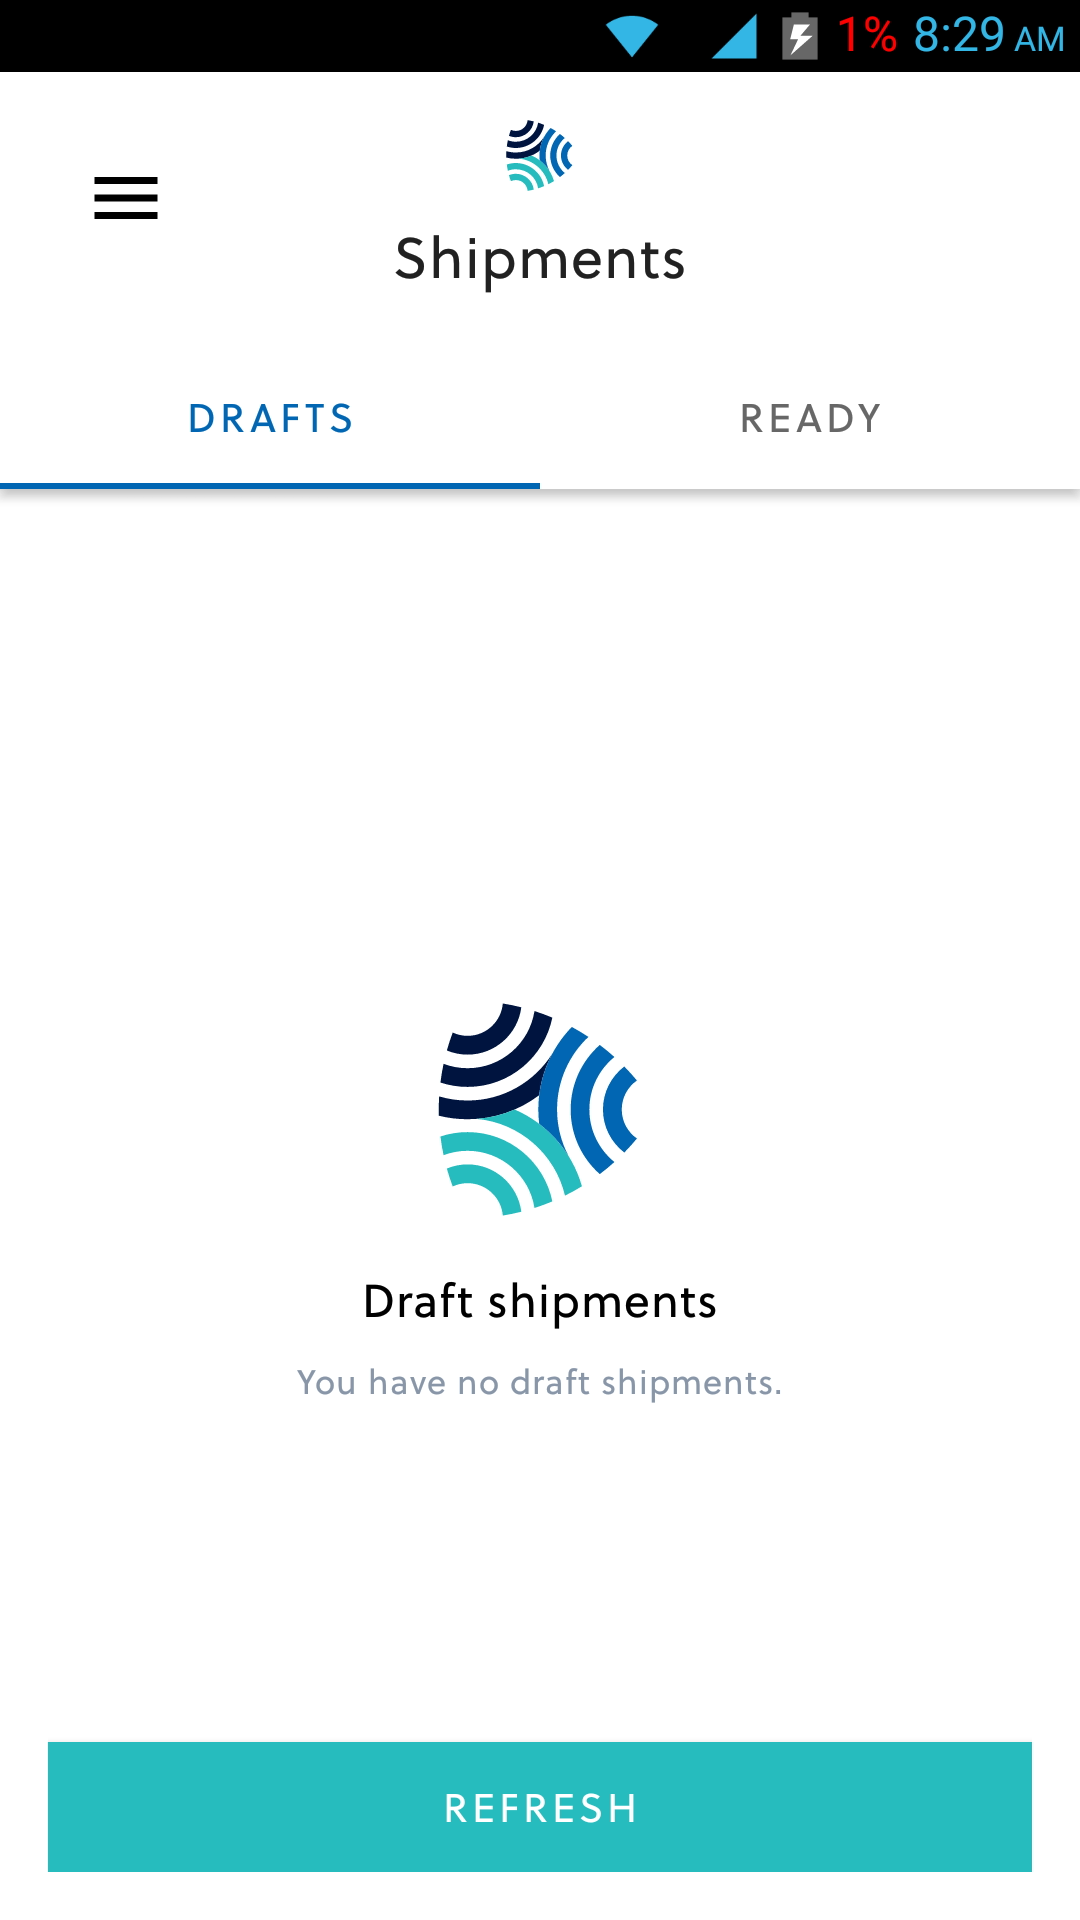
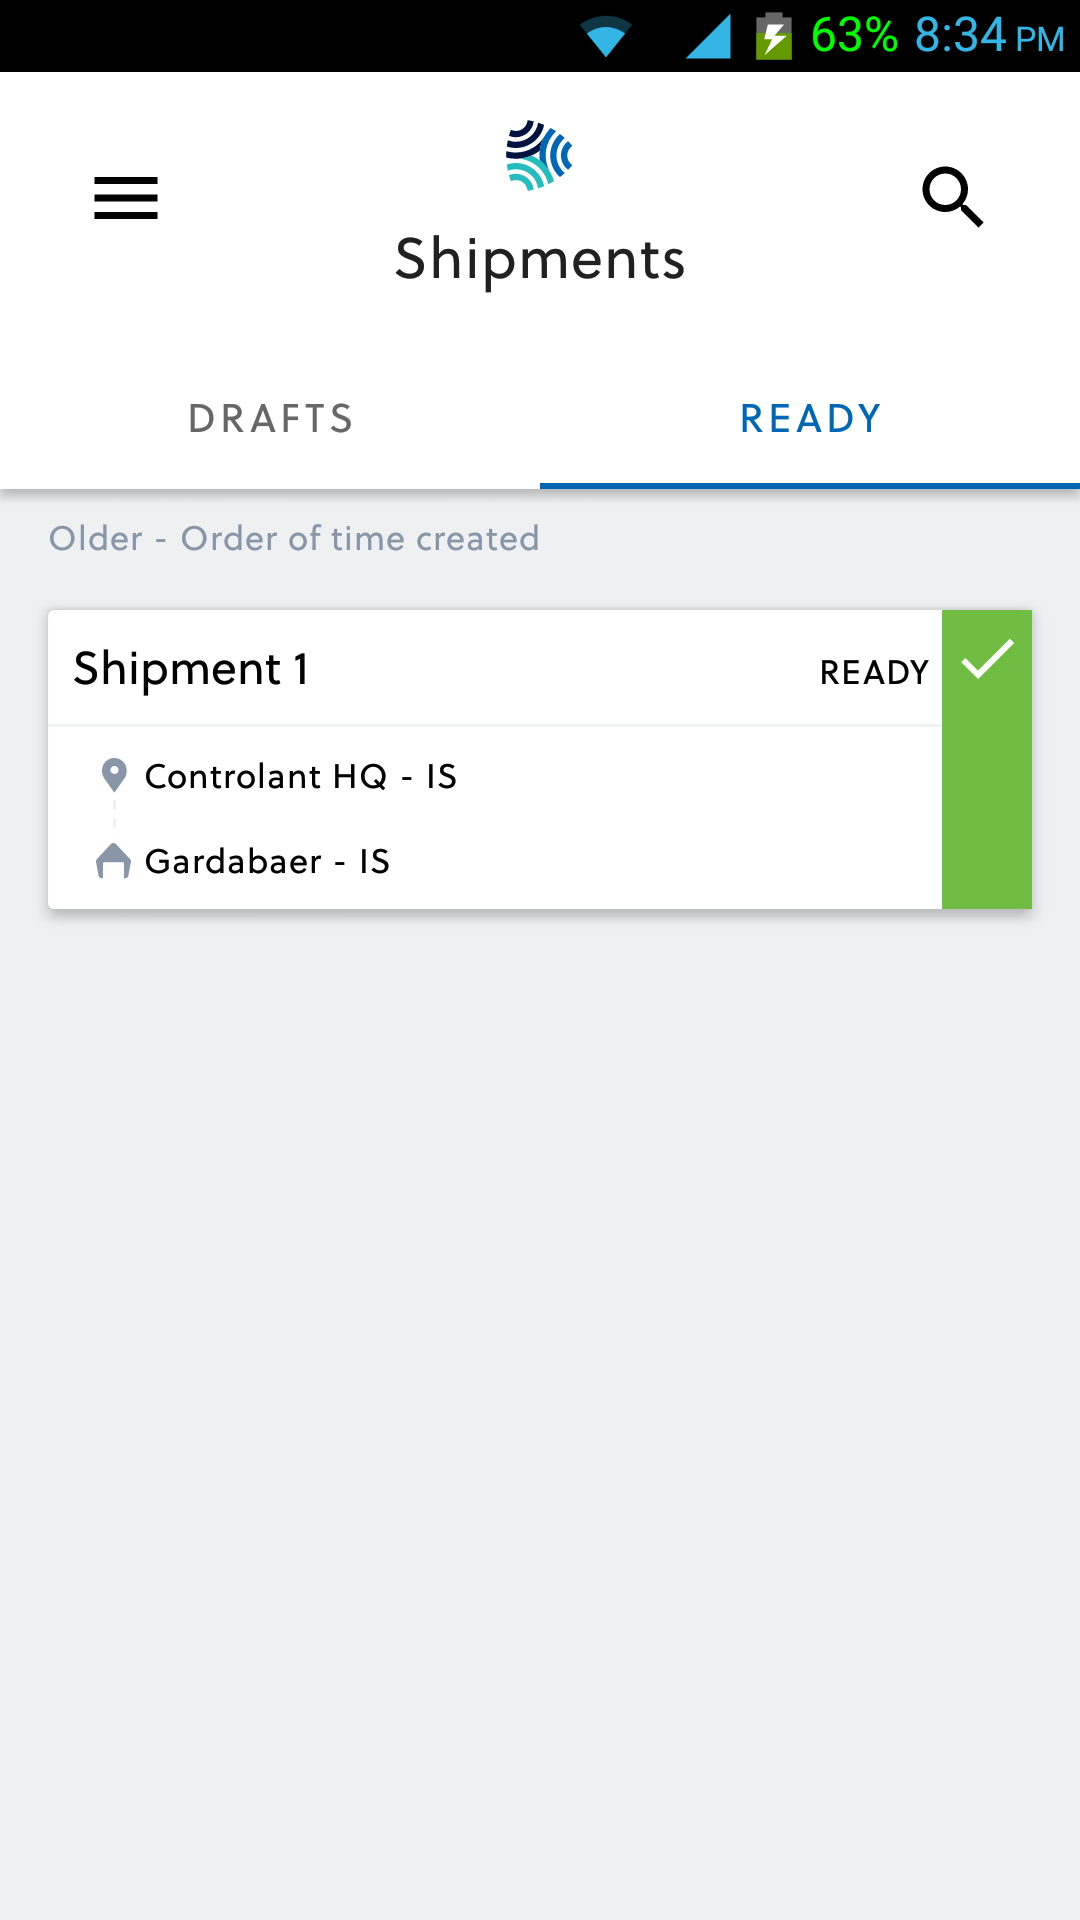
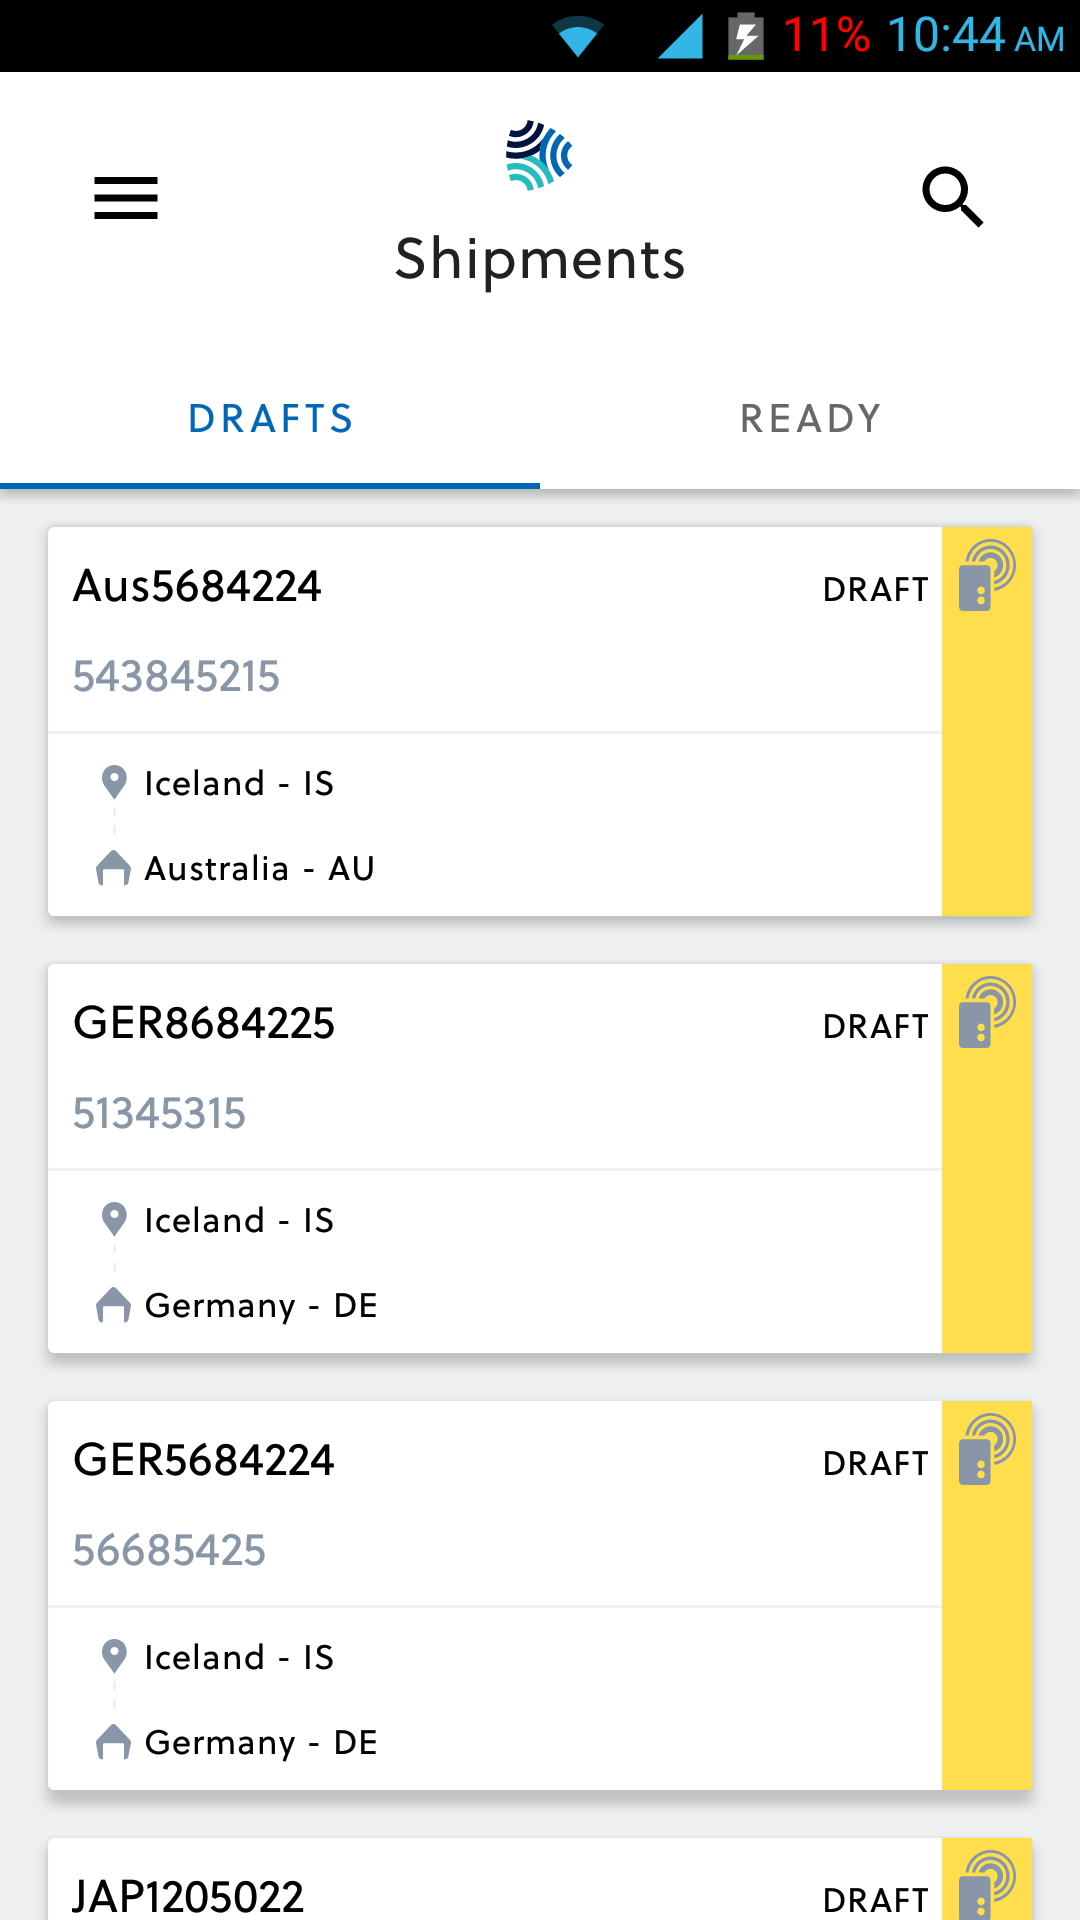
Below are screenshots of the Shipments screen (1 to 4 from left to right). When logged into the app, the first view on display is the DRAFTS Shipments list. If no draft shipments exists for the customer, the list on display is empty (1). If there are any draft shipments listed, they are listed in order of time created with latest on top (2). In the list view in the app, the user can switch between DRAFTS Shipments list and READY Shipments list by clicking the tabs, DRAFTS and READY, on top of the lists and below the title Shipment (3). Draft shipments that are created in the app will immediately disappear from the DRAFTS list (3) and appear in the READY list (4).
 |  |  |  |
Edit draft shipment
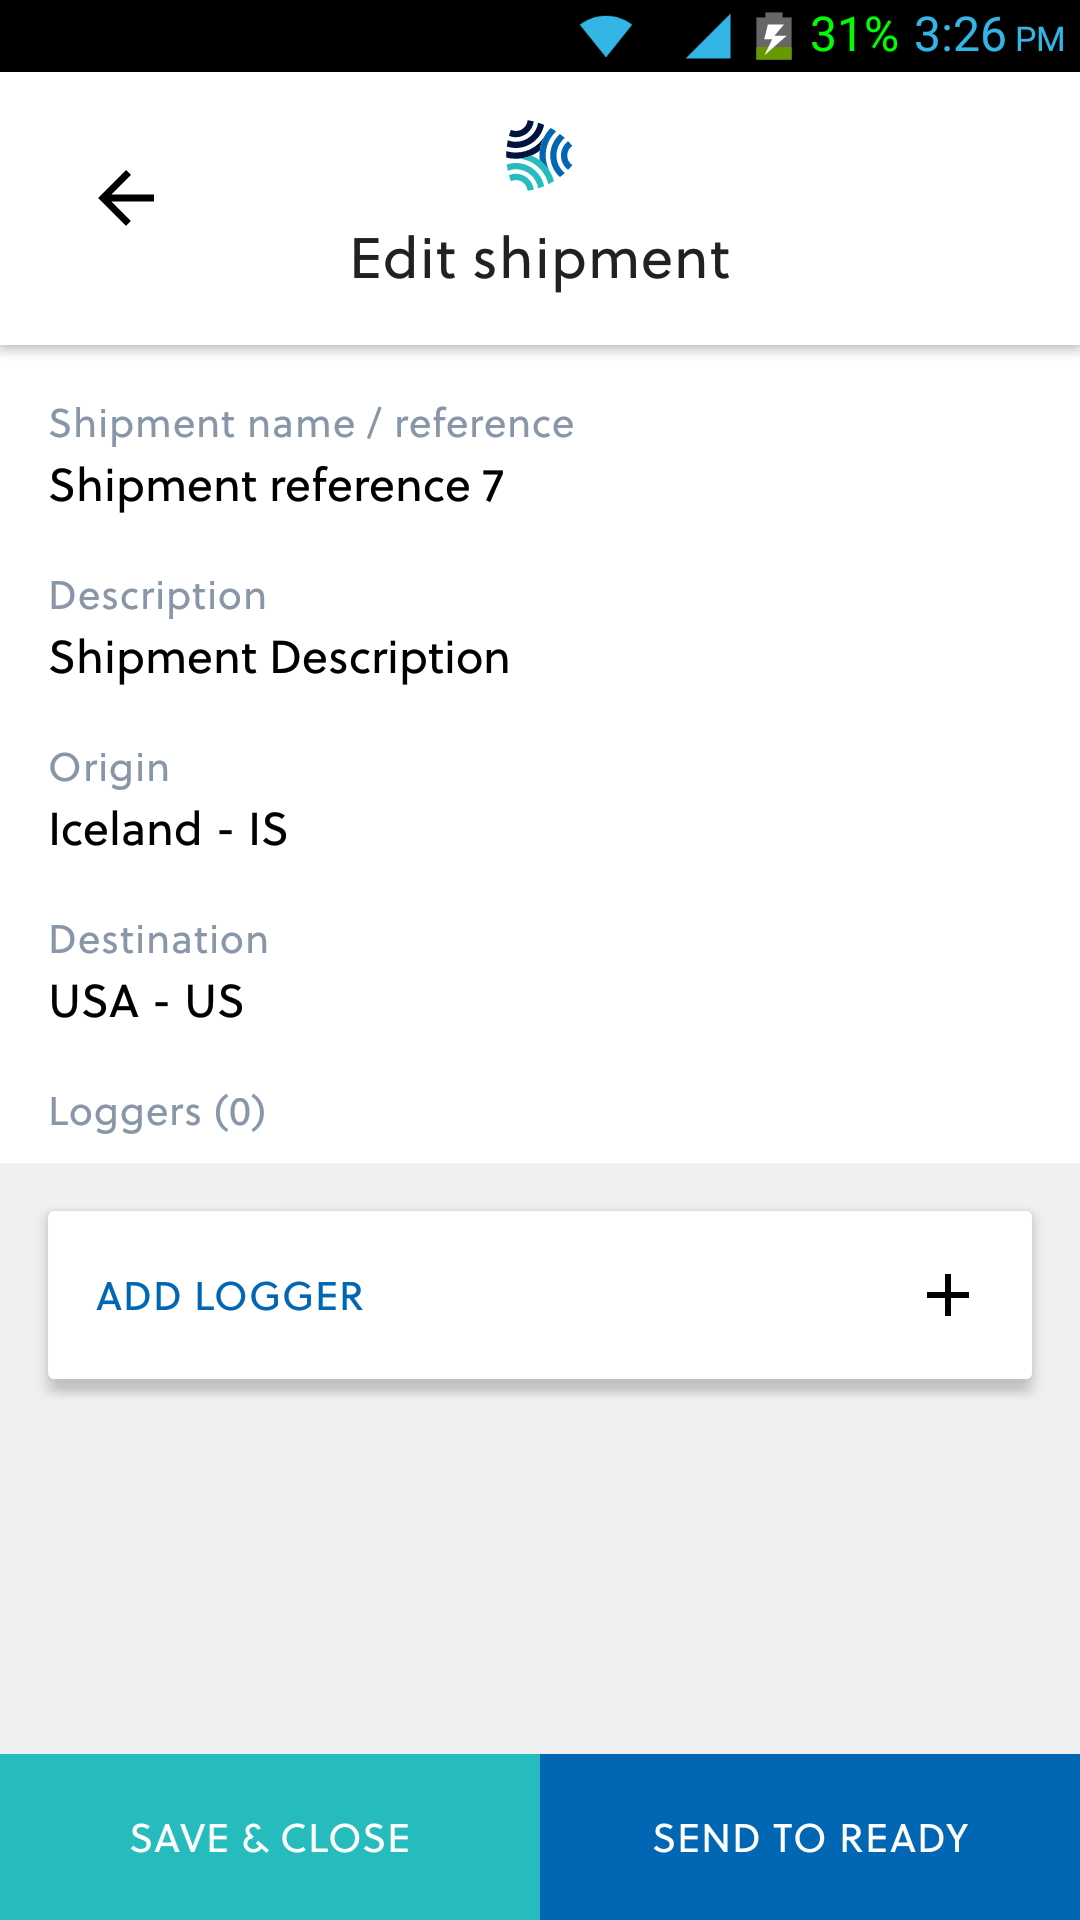
Below are screenshots of the Edit shipment screen (1 to 3 from left to right). To edit a draft shipment from the list, the user needs to select a single draft shipment to open the Edit Shipment view (1).
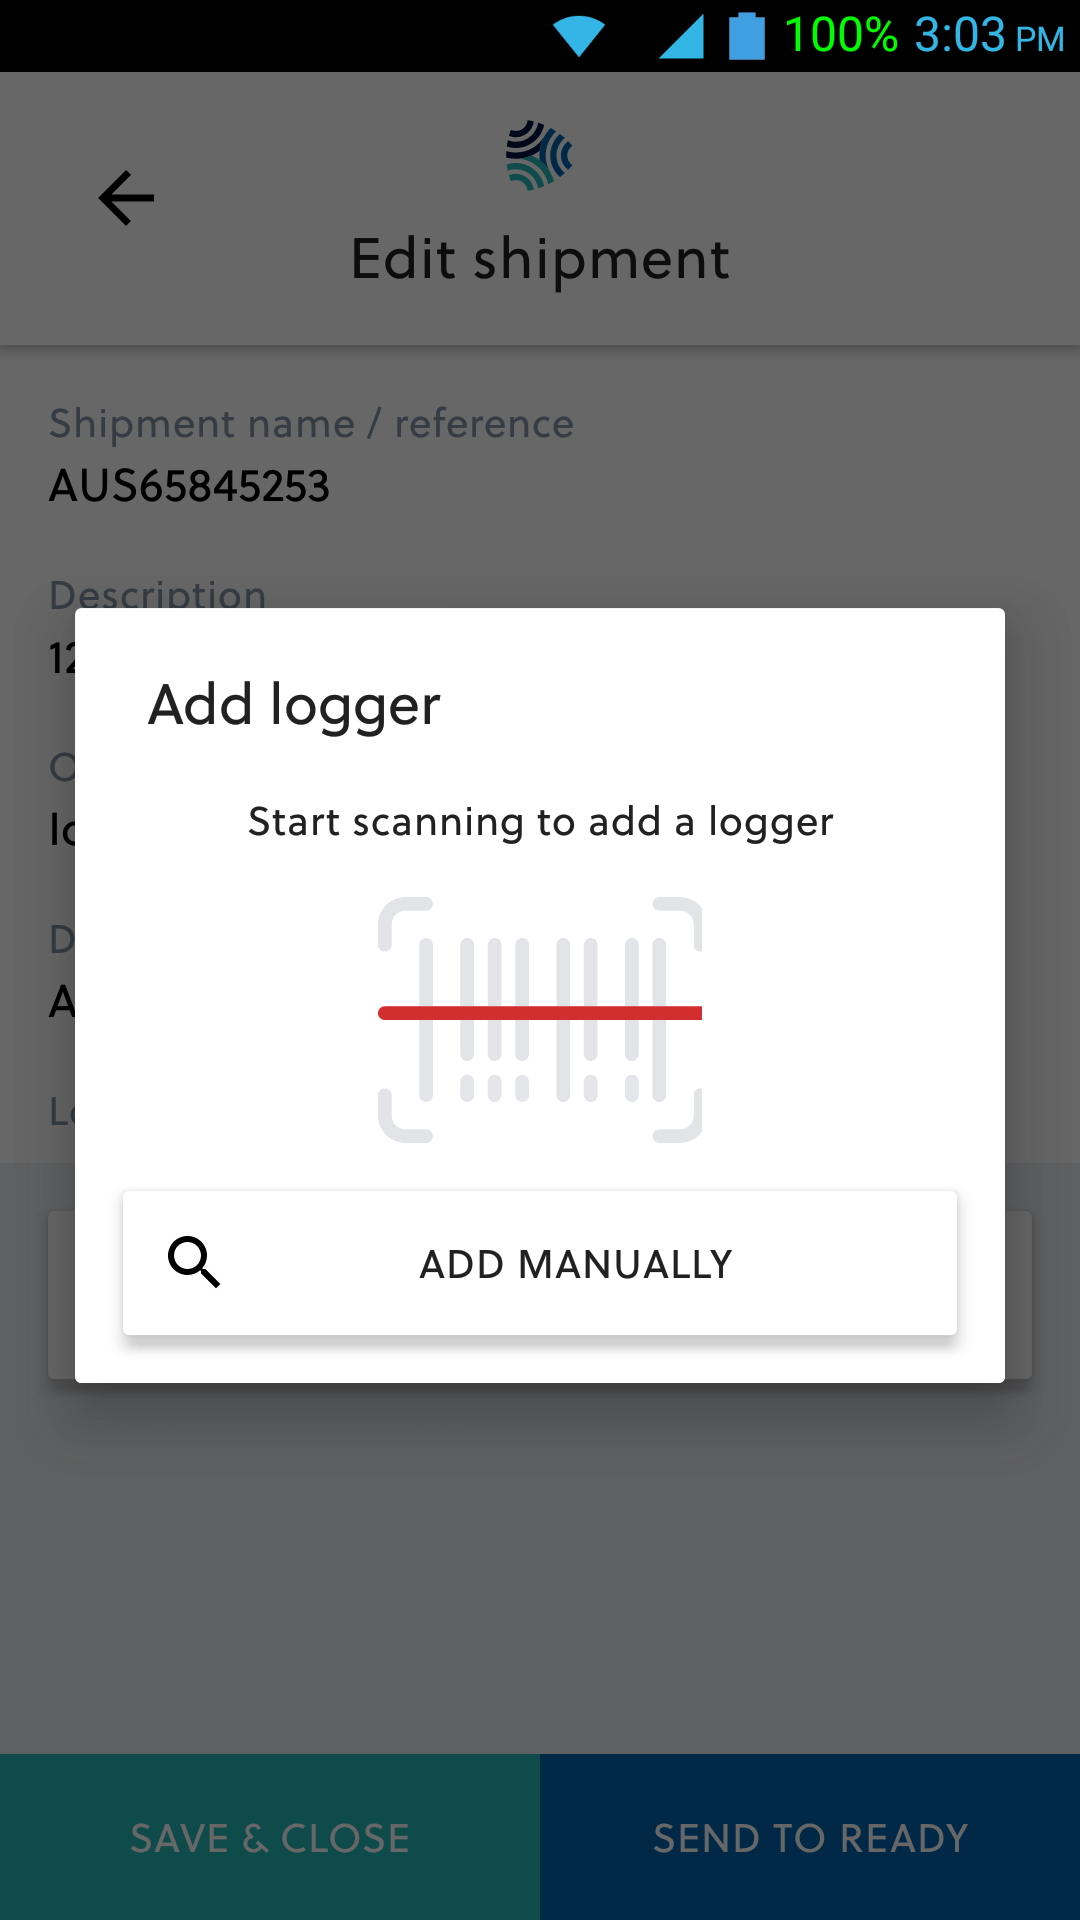
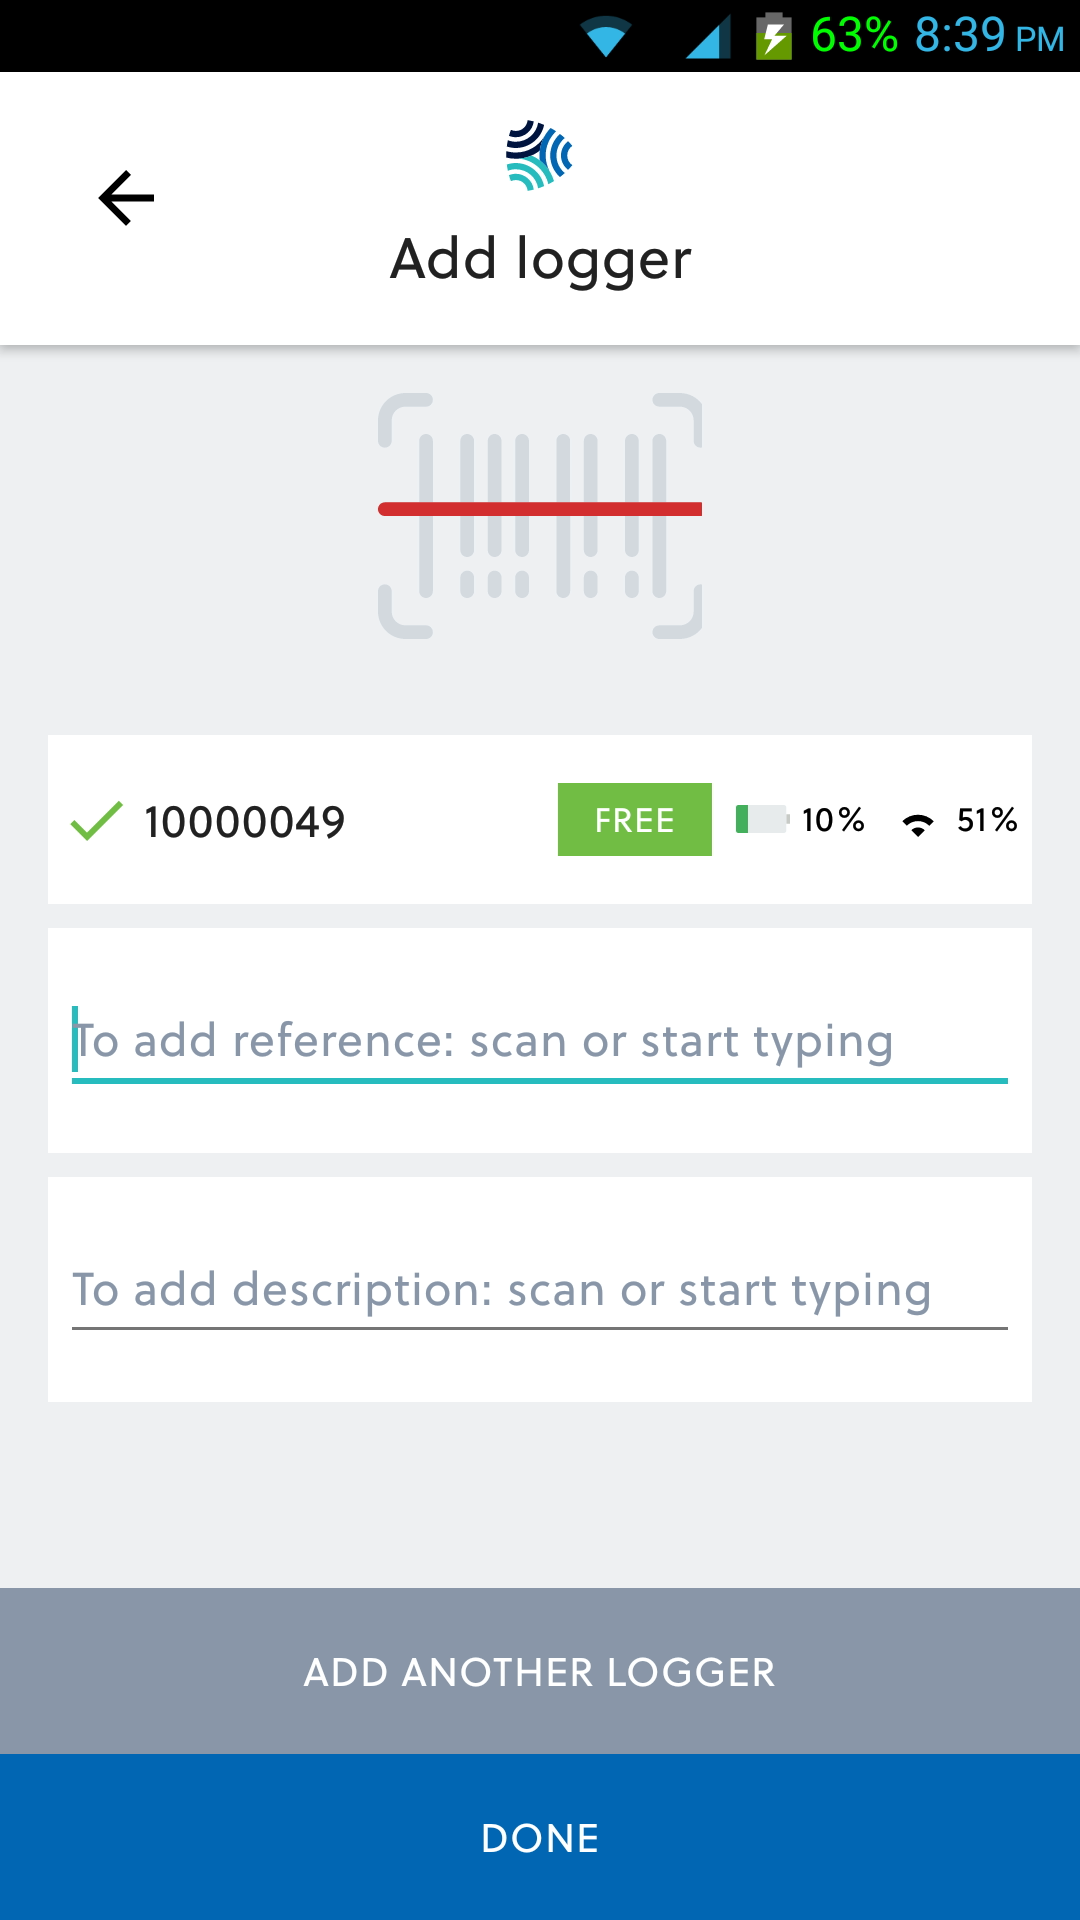
Loggers can be added to a draft shipment in two ways, by scanning the barcode on the back of the logger (2) or by manually adding it from a list (3). The preferred and fastest way to add the logger is to use the Scanner method. By activating the scanner on the logger, the user can scan the barcode on the back of the logger. The user has to make sure to point the scanner on the mobile device at the barcode on the logger. A red light will show on the device and when the scan is completed the device will emit a peep sound. When the logger is registered, the scan logger shows the ID of the logger and turns green to verify a successful scan. Description and reference for the logger can also be scanned if it's available in barcode format. If description and reference is not available in barcode format, the user can type in the information or alternatively skip and click DONE (3).
 |  |  |
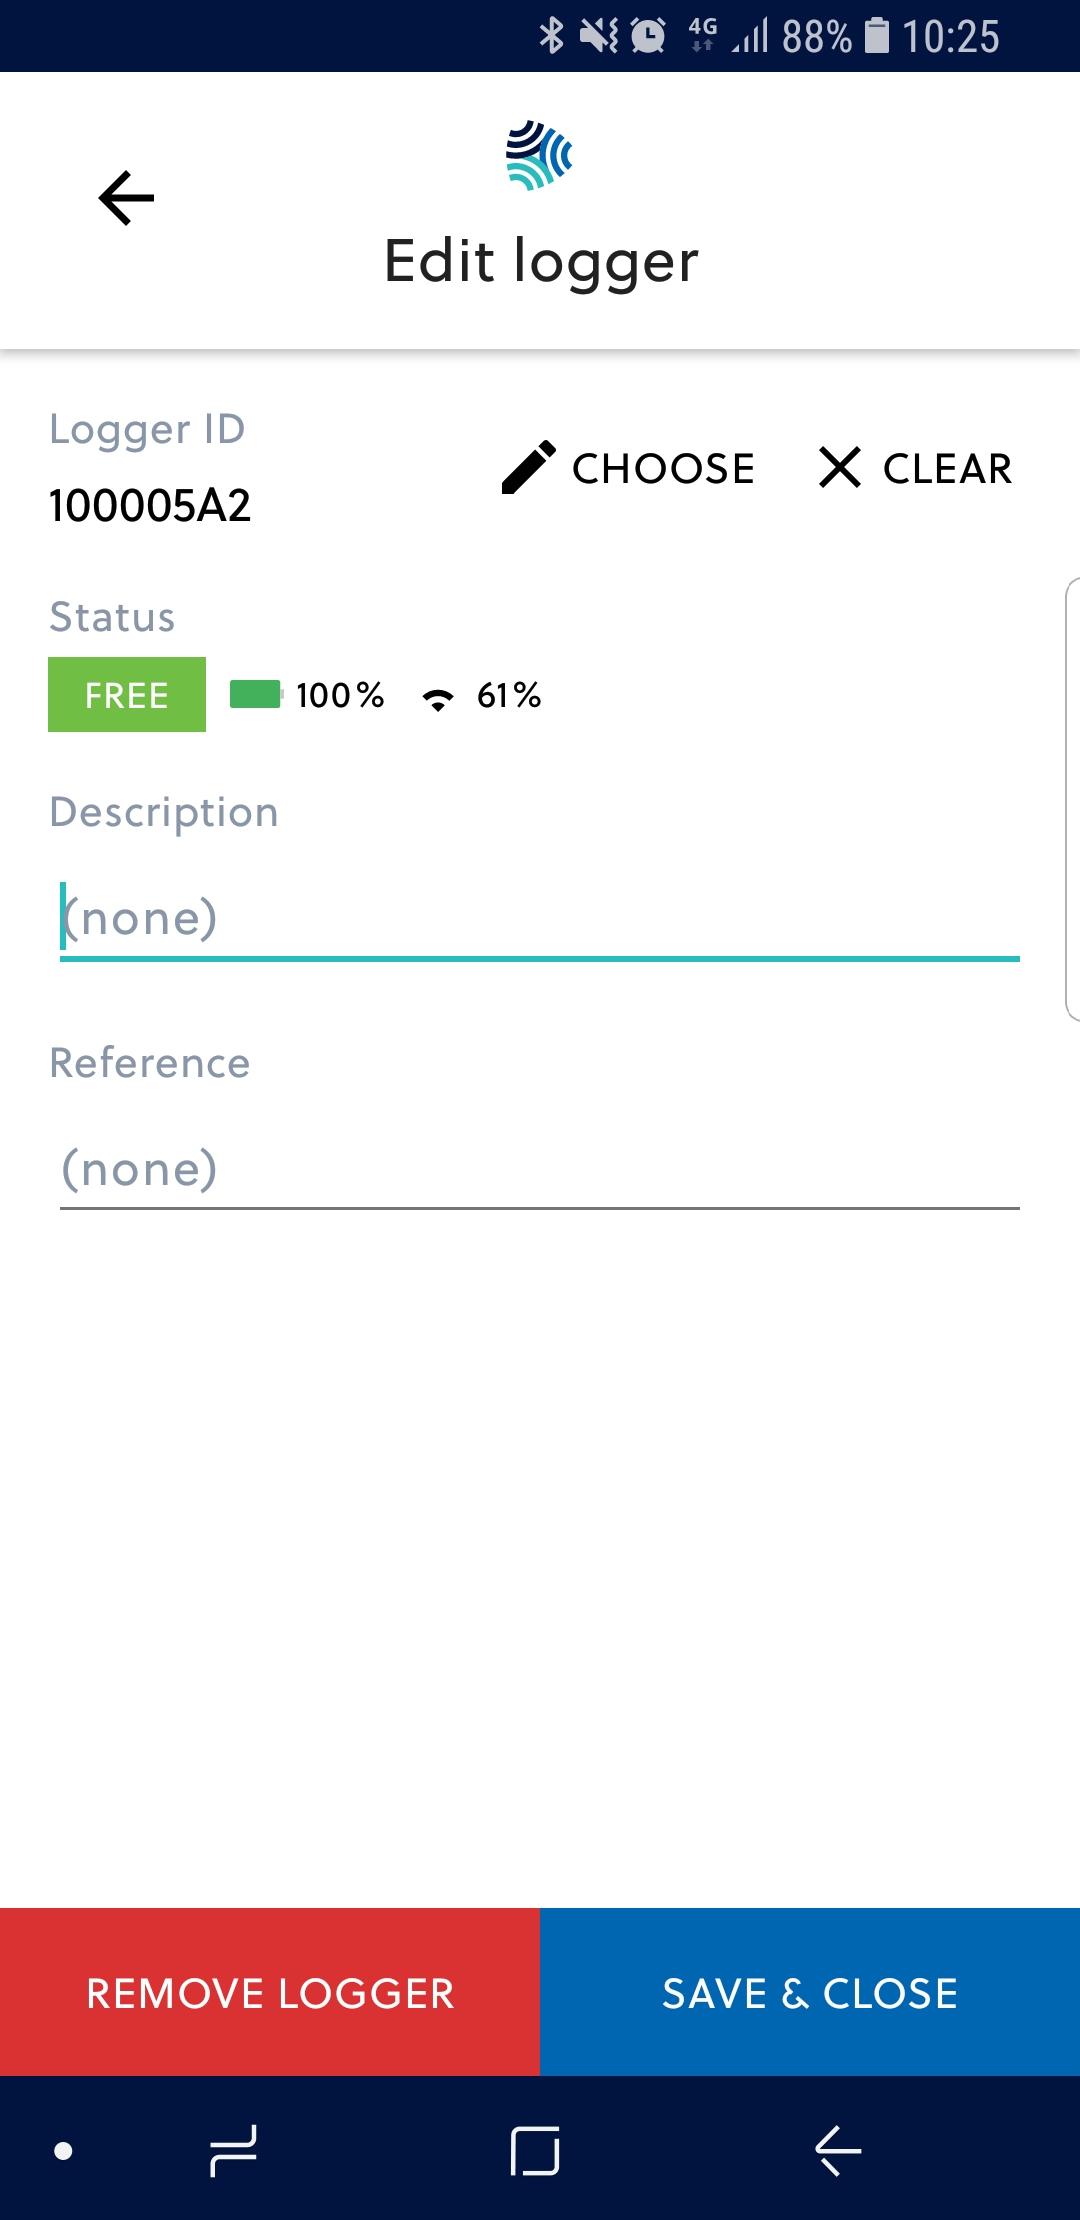
Description and reference can be manually added to the logger (1-2 from left to right). In the Edit logger view, the user can click the logger to open the Edit logger view as shown on (1). The two properties that can be manually edited are a) the time when the logger is switched or b) the logger is cleared to be added later. To save the changes made to the logger click the SAVE & CLOSE button, and to remove the logger click the REMOVE LOGGER button.
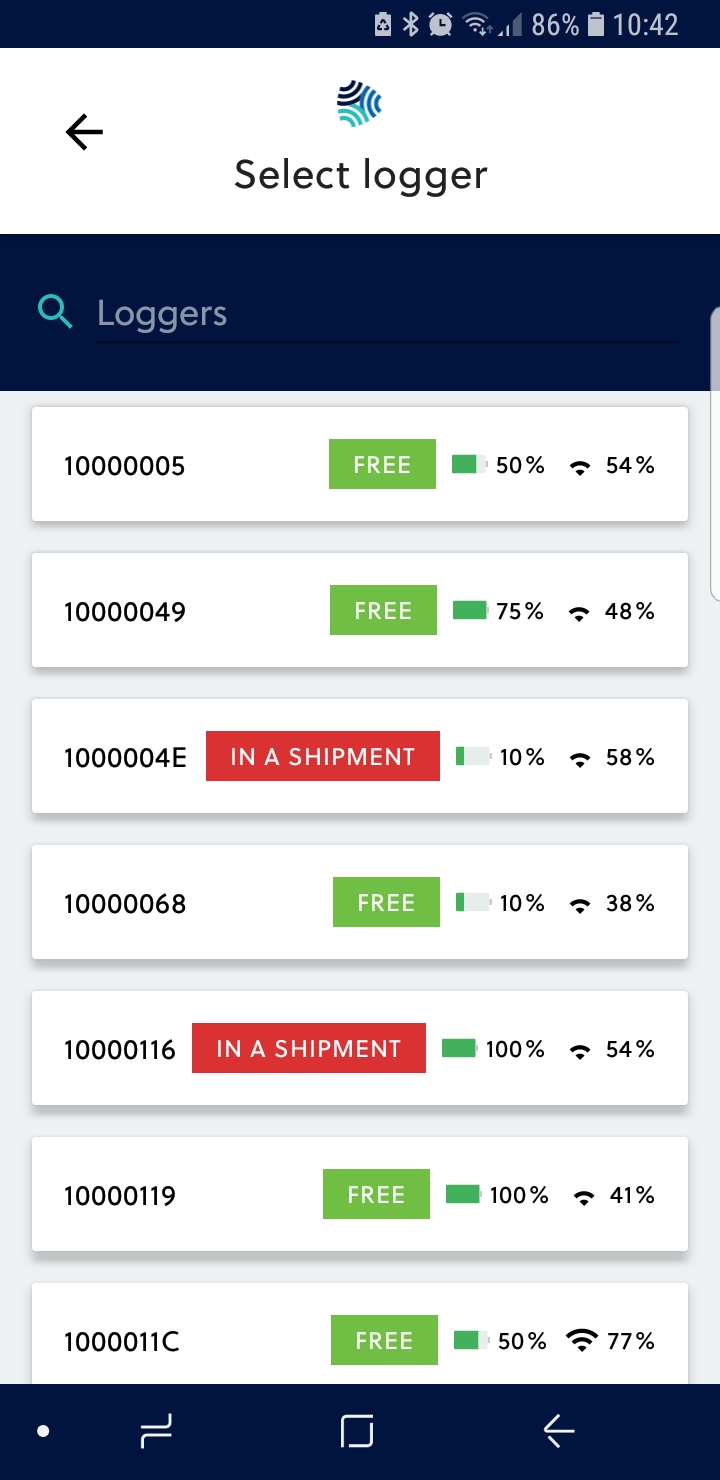
If there are any issues with scanning the barcode on the back of the logger, the user can manually add the logger by clicking the Manual method when adding a logger. The Select logger view on (2) will then open with a list of all available loggers registered to the customer. The user selects the logger from the list. Use the logger ID to search for a specific logger with the Loggers search input above the list of available loggers (2).
 |  |
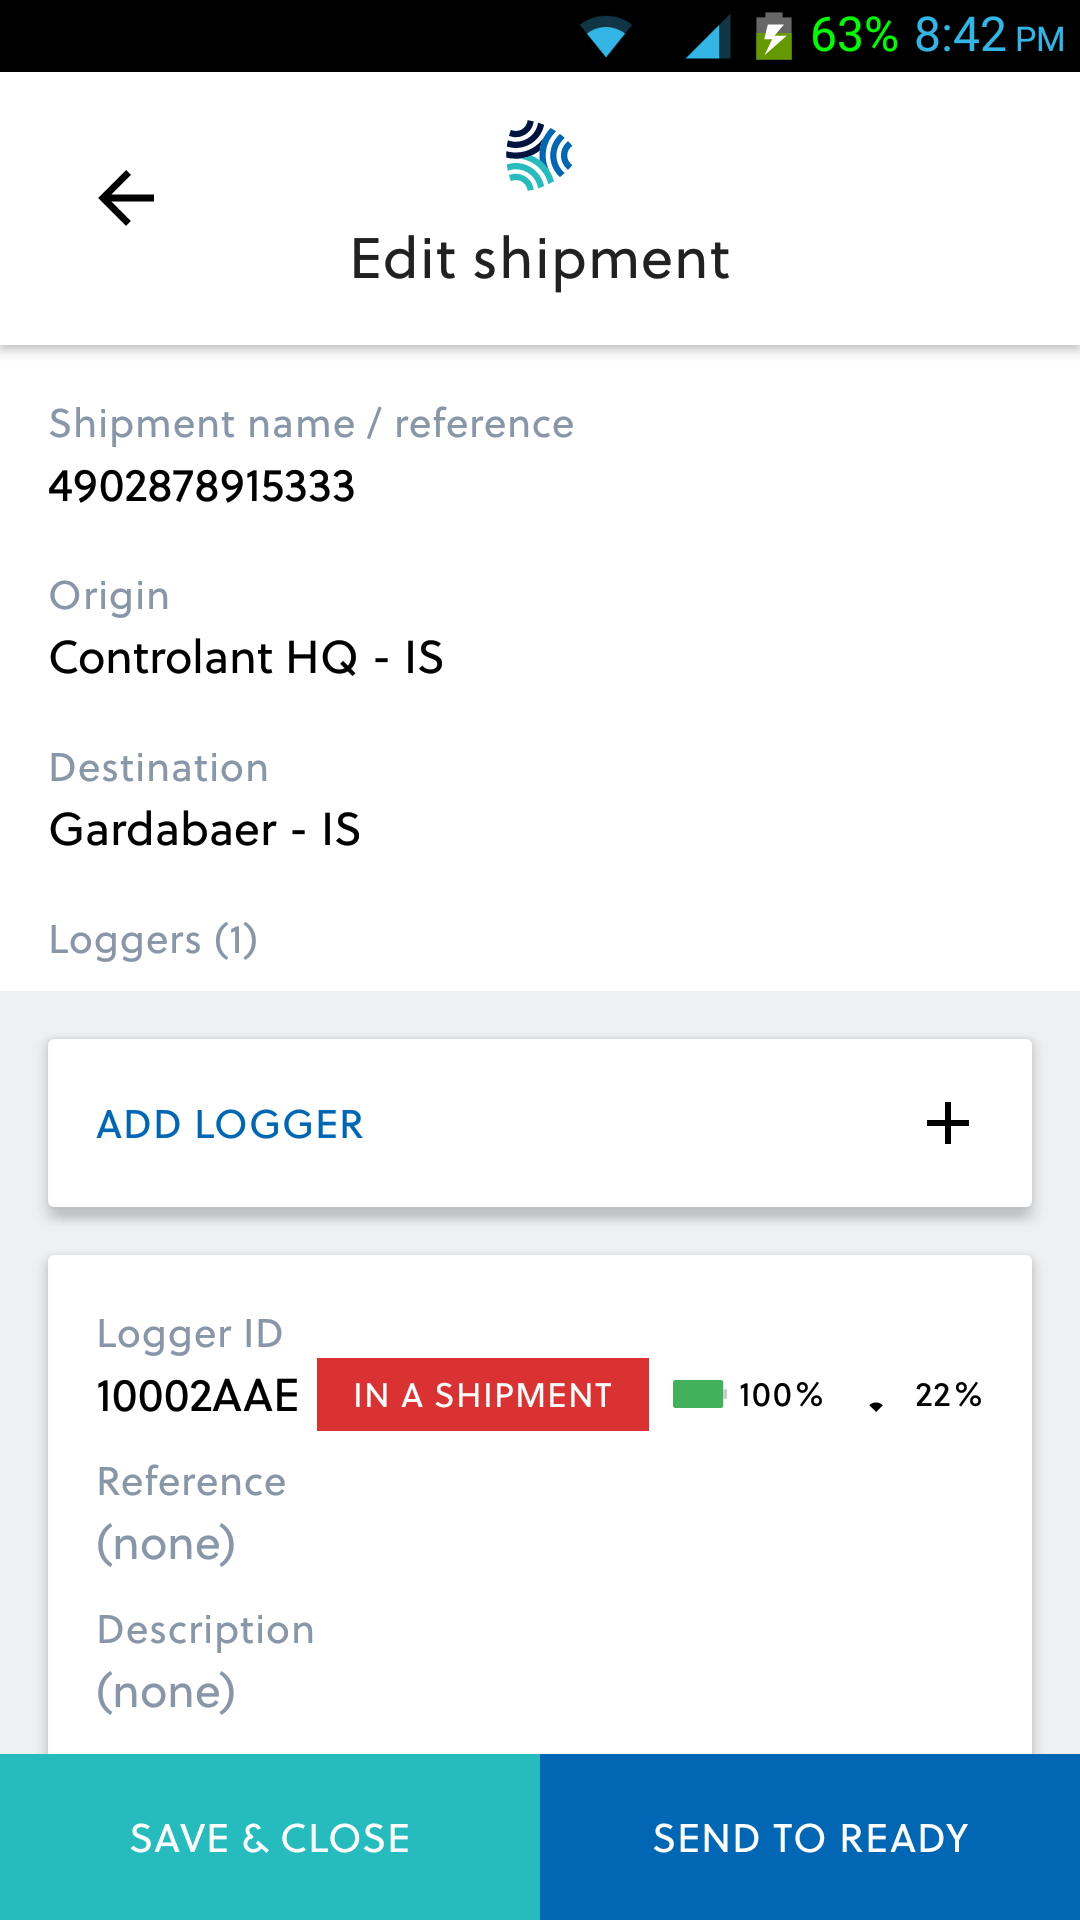
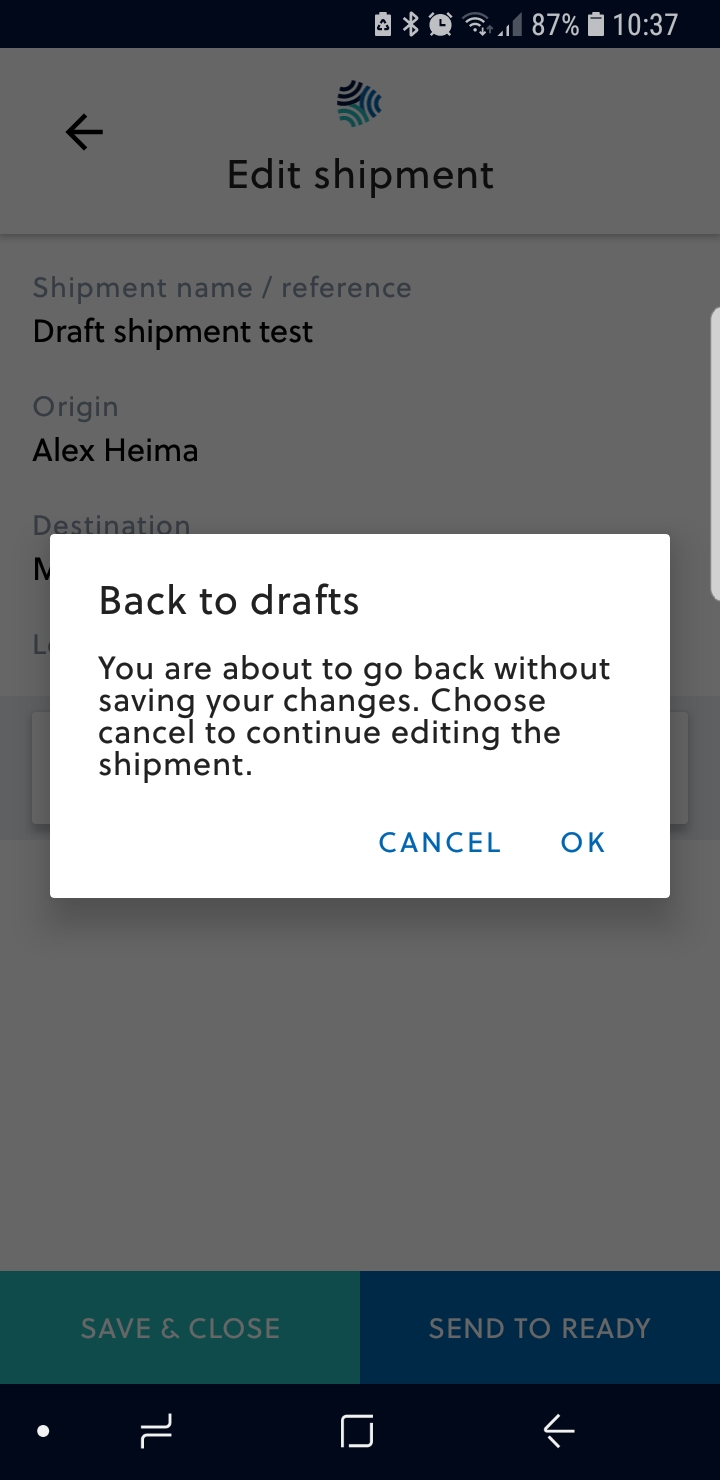
When loggers have been added to the draft shipment, the shipment can either be saved for editing at a later date by clicking the SAVE & CLOSE button, or the shipment can immediately be sent to Ready state by clicking the SEND TO READY button as shown on the image (1) to the left below. If the user wants to cancel editing the shipment, click on the Back Arrow on the top left side of the screen and a message will appear to notify the user that the shipment is not saved and all changes are lost if the OK button is selected. To continue editing the shipment, the user should click CANCEL if they want to continue editing the shipment as shown on the image (2) below to the right.
 |
|
Side menu
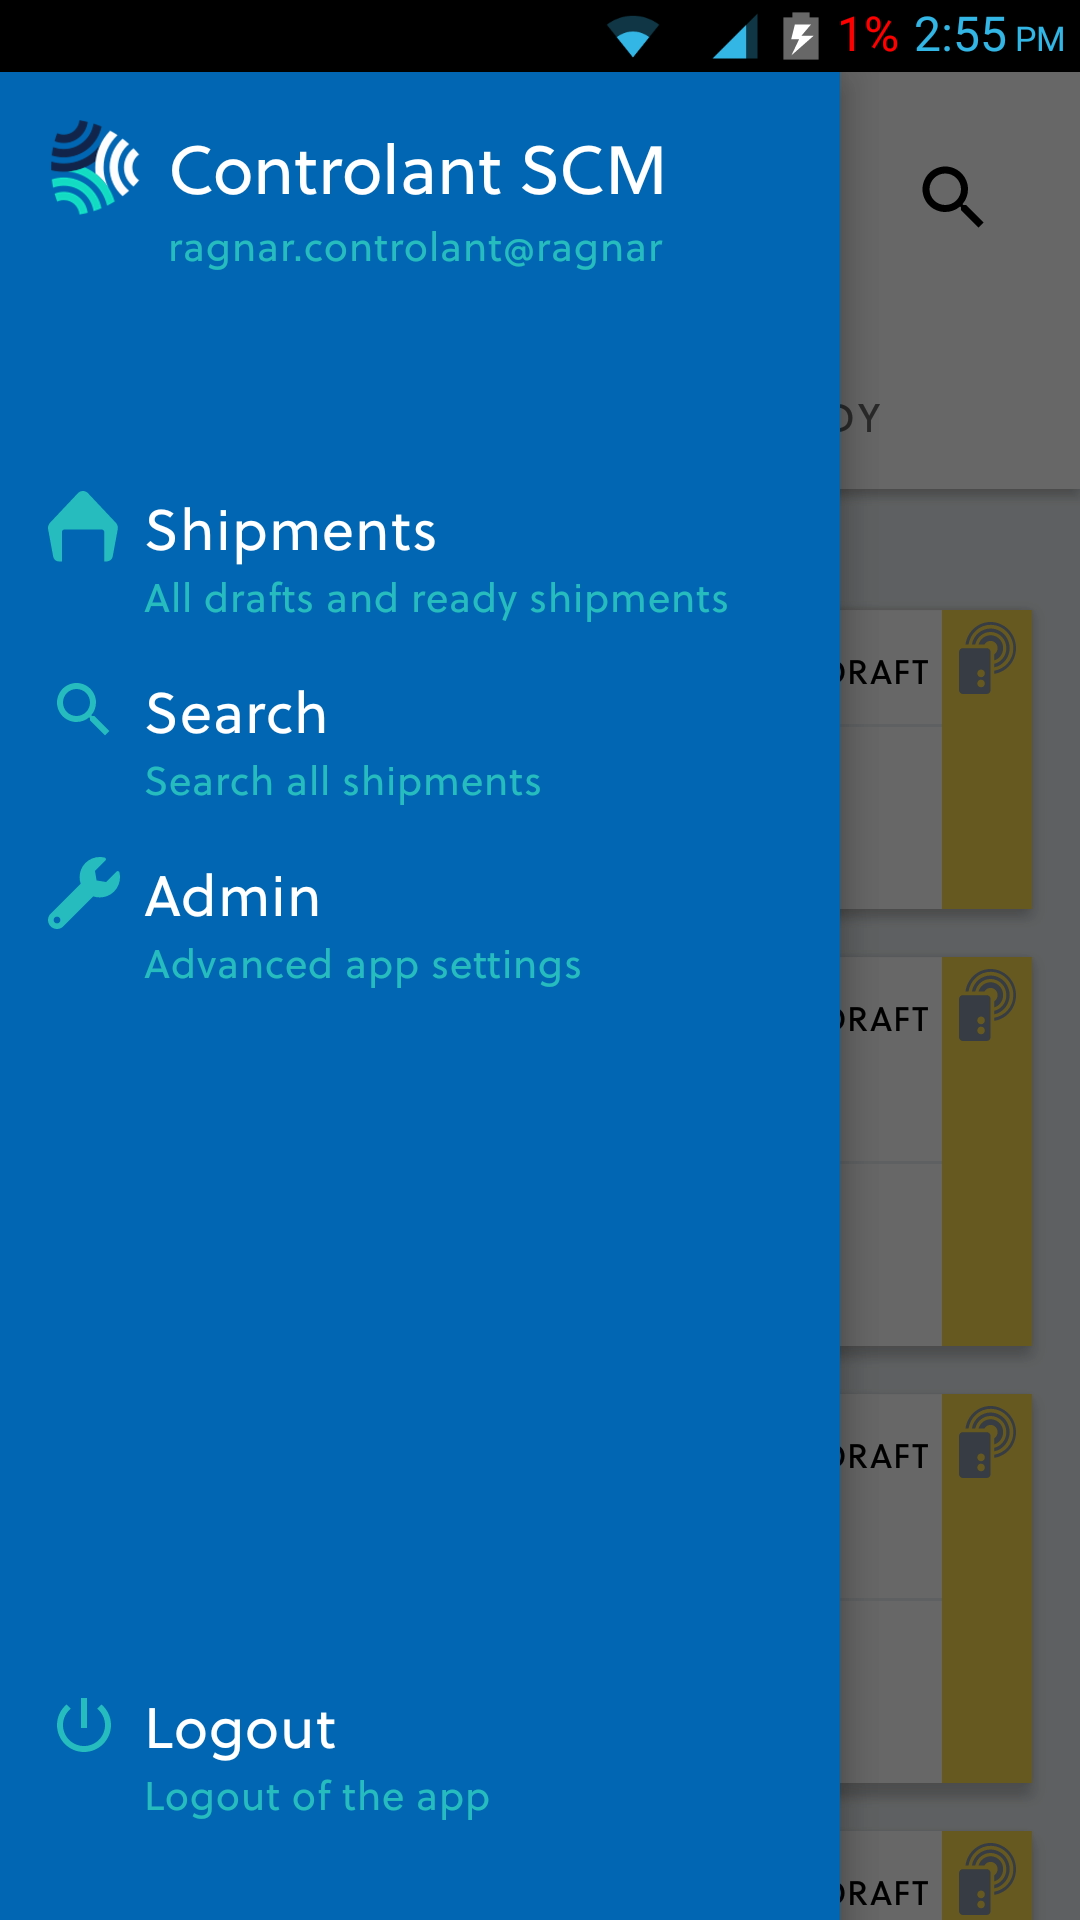
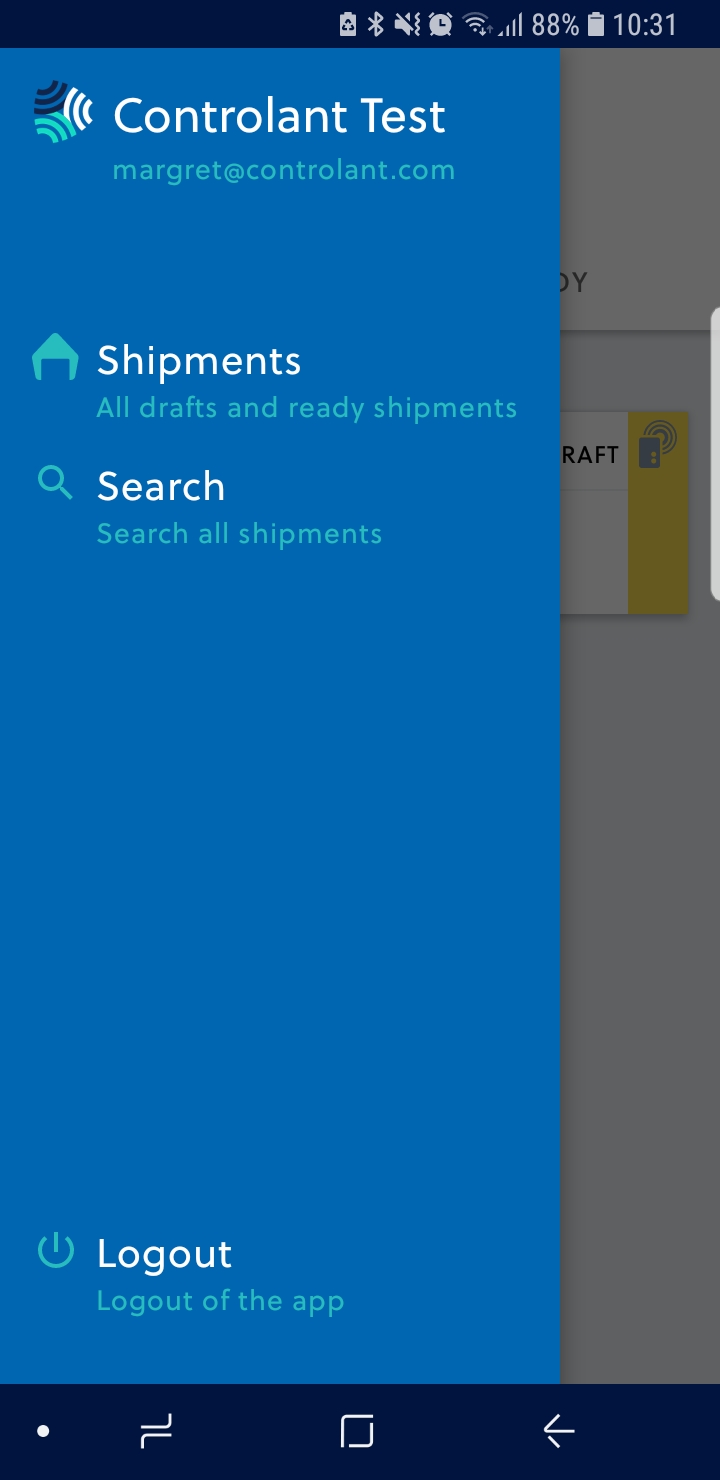
Below are screenshots of the Shipments screen (1 to 3 from left to right). The Hamburger icon in the top left corner on the main screen of the app (1) opens the app menu (2), and the user can navigate between the Shipments option that shows all draft shipments and the ready shipments. The Search option is below the Shipments option (2). Users with admin access will have the additional Admin option (3).
 |
|  |
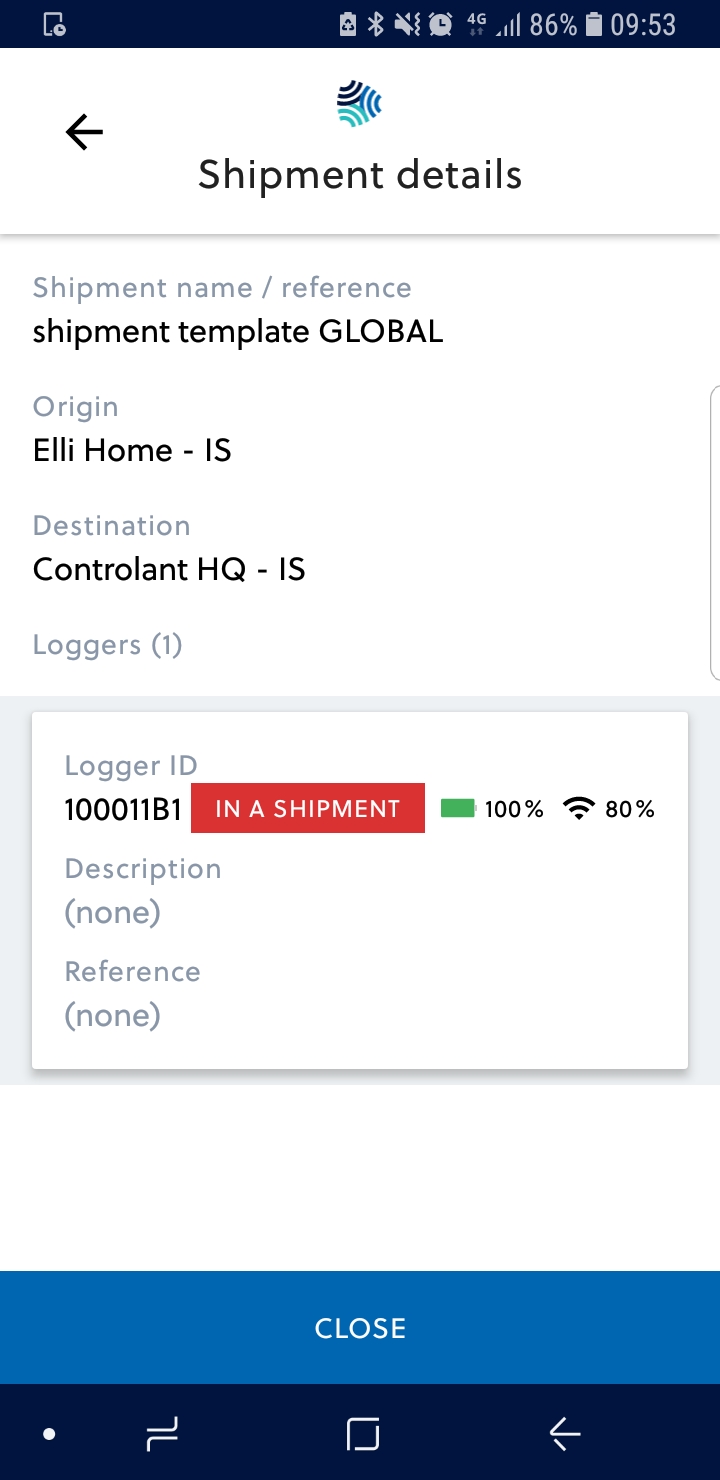
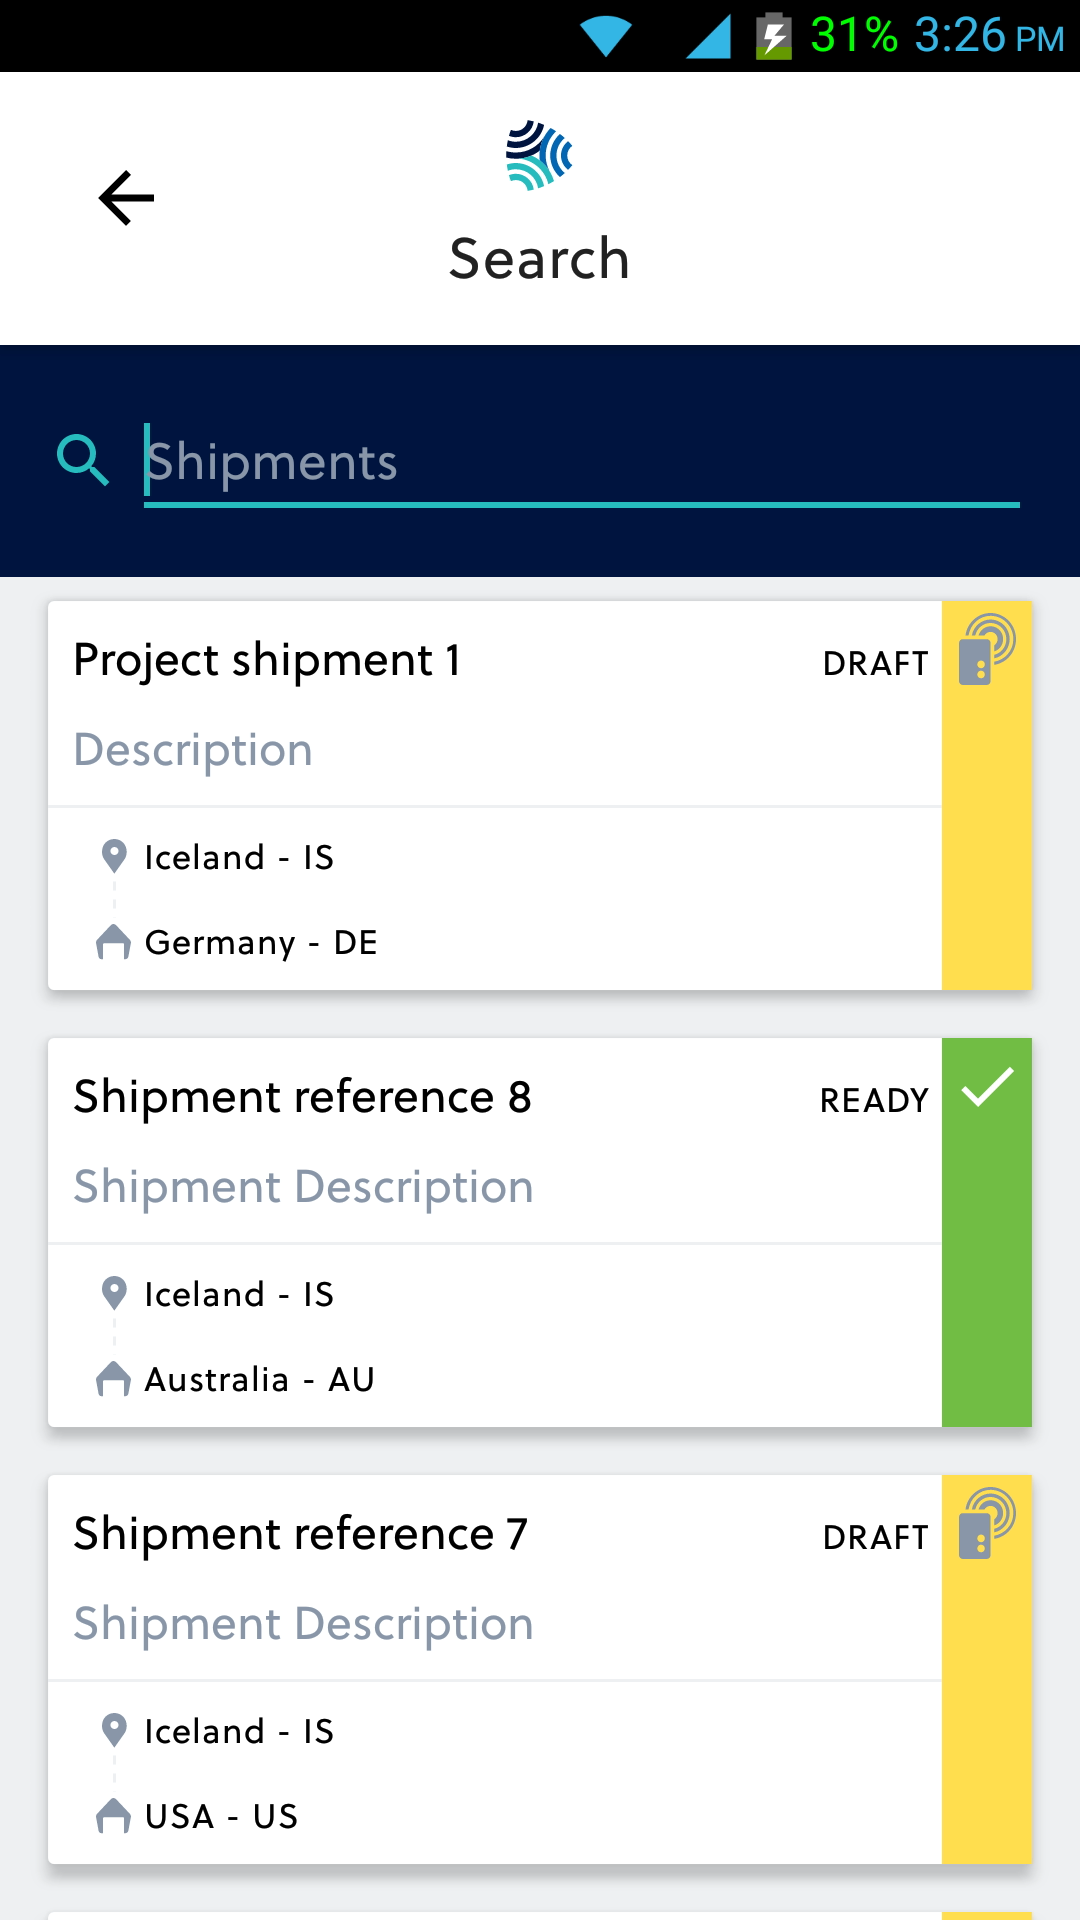
In the Search view, the user can search for shipments in all Status (DRAFT, READY, SHIPPING, DELIVERED and CLOSED) modes of shipments as shown on image (1) below to the left. The Edit view appears by selecting the DRAFT shipments. Clicking shipments in any other status mode will open a Read-Only view of the shipment. The view will show the same information as shown for DRAFT shipments, Shipment Name/Reference, Origin, Destination and Loggers as shown on image (2) below to the right.
 |
|