Shipment Properties
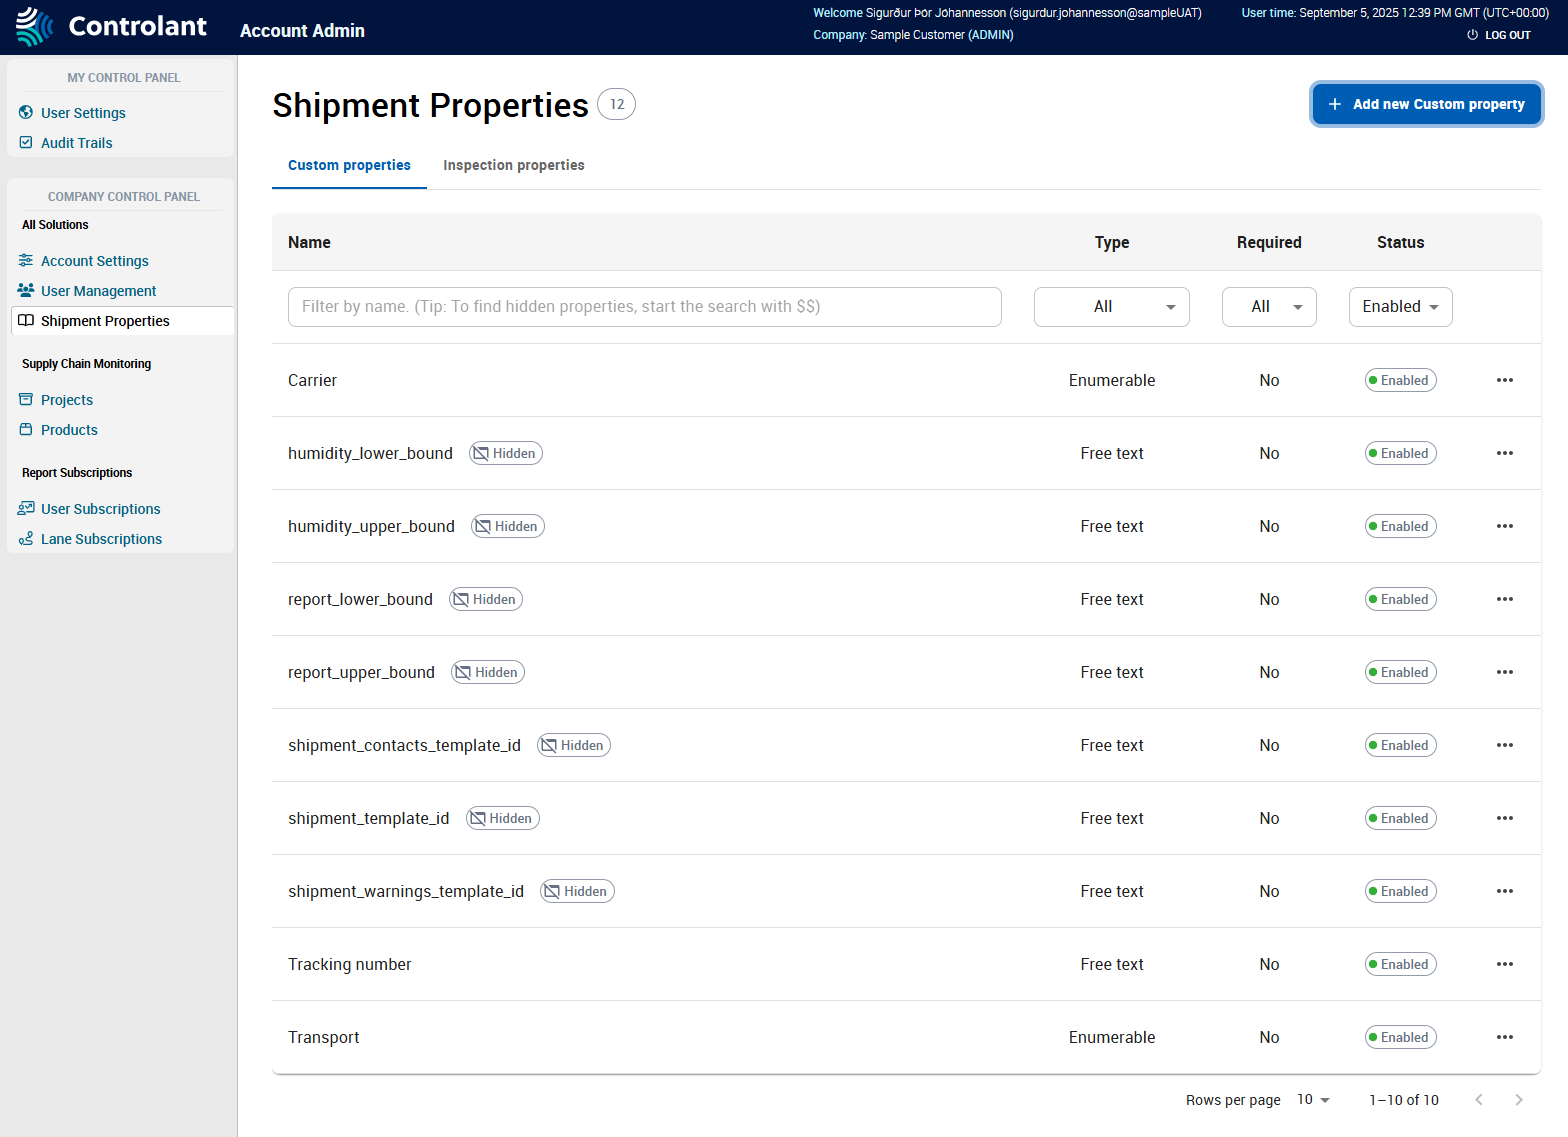
You can use the Shipment Properties page to configure shipment properties:
Note
This section is only accessible for users with Admin access to the Controlant Platform (SCM).

You can use the Custom Properties page to create and manage custom properties to add to shipments. Custom properties can be any information about the shipment that is relevant, and can be helpful. Examples include:
tracking number
transport mode
carrier name
You can create two types of custom properties:
Free text - text or numbers
creates a text box where user can type text or numbers to set as the value for this property
Enumerable - you can add values to a list
creates a drop-down list where user can select from the list of options to set as the value for this property
Item | Description |
|---|---|
Filter | Filters the custom properties shown in the table:
|
Name | Name of custom property. |
Type | Type of custom property:
|
Required | Indicates whether custom property is required.
NoteRequired custom properties will be included when creating a shipment. Custom properties that are not required can be added to shipments. |
Actions | Actions you can take on the custom property:
|
In the Account Admin, in the Company Control Panel menu, in the All Solutions area, click User Management.
The Custom Properties page appears.
Click New Custom Property.

The Create New Custom Property page appears.
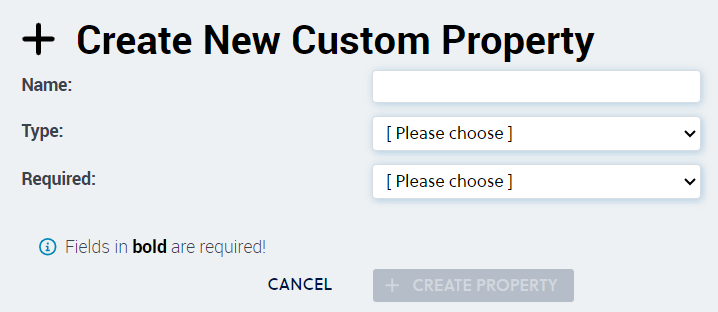
In the Name box, type a name for the custom property.
To select a type of custom property, in the Type box, do one of the following:
To create a custom property where you can type text or numbers, click Free Text.
To create a custom property where you select from a list, click Enumerable.
To configure whether the custom property should be required when creating shipments, in the Required box, do one of the following:
To set the custom property to be required, click Yes.
To set the custom property to not be required, click No.
Click Create.

The Custom Properties page appears, with the new custom property in the list.
In the Account Admin, in the Company Control Panel menu, in the All Solutions area, click Custom Properties.
The Custom Properties page appears.
In the Custom Properties list, locate the custom property you want to edit and click
 .
.The Edit Custom Property page appears.
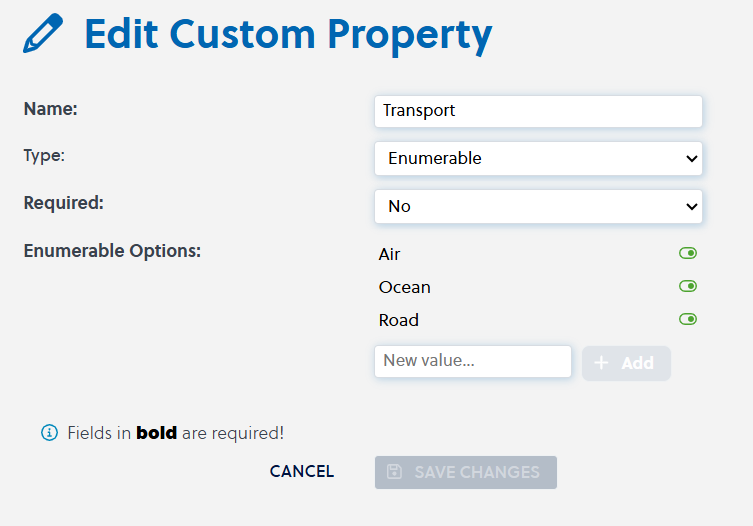
If you want to edit the name of the custom property, in the Name box, type a name for the custom property.
If you want to edit the type of the custom property, in the Type box, do one of the following:
To change to a custom property where you can type text or numbers, click Free Text.
To change to a custom property where you select from a list, click Enumerable.
If you want to change whether the custom property should be required when creating shipments, in the Required box, do one of the following:
To set the custom property to be required, click Yes.
To set the custom property to not be required, click No.
Click Save changes.
The Custom Properties page appears, with the updated custom property in the list.
In the Account Admin, in the Company Control Panel menu, in the All Solutions area, click Custom Properties.
The Custom Properties page appears.
If you want to disable a custom property, in the Custom Properties list, locate the custom property you want to disable and click
 .
.The custom property is disabled.
If you want to enable a custom property, in the Custom Properties list, locate the custom property you want to enable and click
 .
.The custom property is enabled.
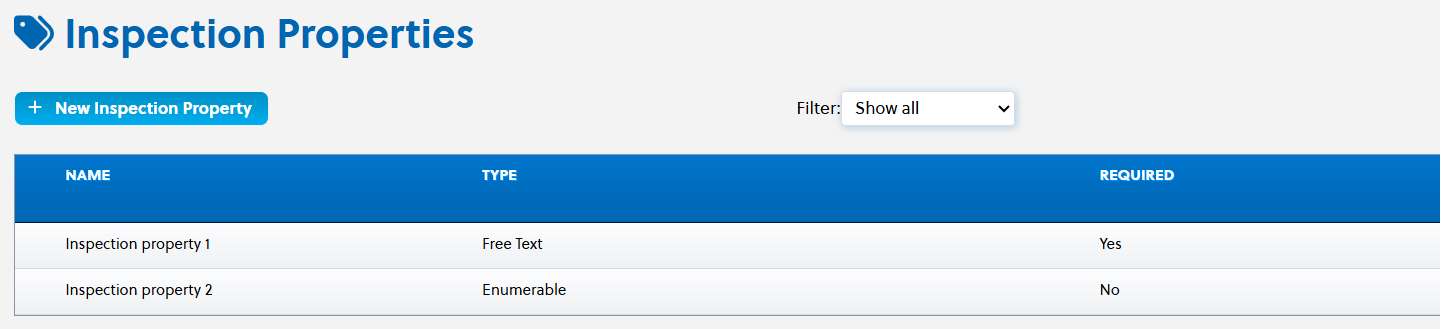
Inspection Properties are custom fields that appear in the user interface’s Inspection modal, when you are inspecting a shipment.
Note
This section does not apply if your company does not have inspection turned on.
Inspection Properties are created to provide users responsible for handling the quality release of products with the option to enrich data with more specific information relating to quality inspection.
You can create two types of inspection properties:
Text properties (Free Text) - you can enter text or numbers
List of options (Enumerable) - you can select from a predefined list of options
Note
All enabled inspection properties will be displayed in the Shipment Inspection Modal.
Item | Description |
|---|---|
Filter | Filters the inspection properties shown in the table:
|
Name | Name of inspection property. |
Type | Type of inspection property:
|
Required | Indicates whether inspection property is required.
NoteRequired inspection properties will be included every time you inspect a shipment. Inspection properties that are not required can be added when inspecting shipments. |
Enumerable options | Configures the list options that can be selected in this inspection property. |
Actions | Actions you can take on the inspection property:
|
In the Account Admin, click Inspection Properties.
The Inspection Properties page appears.
Click New Inspection Property.

The Create New Inspection Property page appears.

In the Name box, type a name for the inspection property.
To select a type of inspection property, in the Type box, do one of the following:
To create a inspection property that can contain text, click Free Text.
To create a inspection property that only contain numbers, click Enumerable.
To configure whether the inspection property should be required when you inspecting shipments, in the Required box, do one of the following:
To set the inspection property to be required, click Yes.
To set the inspection property to not be required, click No.
If you are creating an inspection property of the type Enumerable, to configure the list of options that can be selected for this inspection property, for each option do the following:
In the New value text box, type the value.
Click + Add.
The enumerable option is added to the inspection property.
If you want to disable a value, click
.The custom property is disabled.
If you want to enable a value, click
.The custom property is enabled.
Click + Create Property.
The Inspection Properties page appears, with the new inspection property in the list.
In the Account Admin, in the Company Control Panel menu, in the All Solutions area, click Inspection Properties.
The Inspection Properties page appears.
In the Inspection properties list, locate the inspection property you want to edit and click
.The Edit Inspection Property page appears.
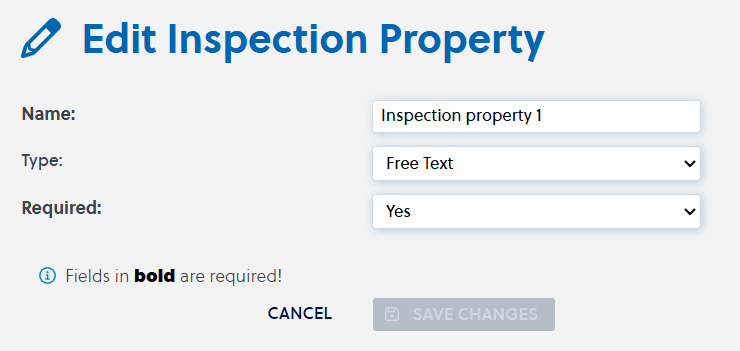
If you want to edit the name of the inspection property, in the Name box, type a name for the inspection property.
If you want to change the type of the inspection property, in the Type box, do one of the following:
To change to a inspection property that can contain text, click Free Text.
To change to a inspection property that only contain numbers, click Enumerable.
If you want to change whether the inspection property should be required when inspecting shipments, in the Required box, do one of the following:
To set the inspection property to be required, click Yes.
To set the inspection property to not be required, click No.
If you are editing an inspection property of the type Enumerable, to configure the list of options that can be selected for this inspection property, for each option do the following:
To add a value, do the following:
In the New value text box, type the value.
Click + Add.
The enumerable option is added to the inspection property.
If you want to disable a value, click
.The custom property is disabled.
If you want to enable a value, click
.The custom property is enabled.
Click Save changes.
The Inspection Properties page appears, with the updated inspection property in the list.
In the Account Admin, in the Company Control Panel menu, in the All Solutions area, click Inspection Properties.
The Inspection Properties page appears.
If you want to disable an inspection property, in the Inspection Properties list, locate the inspection property you want to disable and click
.The inspection property is disabled.
If you want to enable an inspection property, in the Inspection Properties list, locate the inspection property you want to enable and click
.The inspection property is enabled.